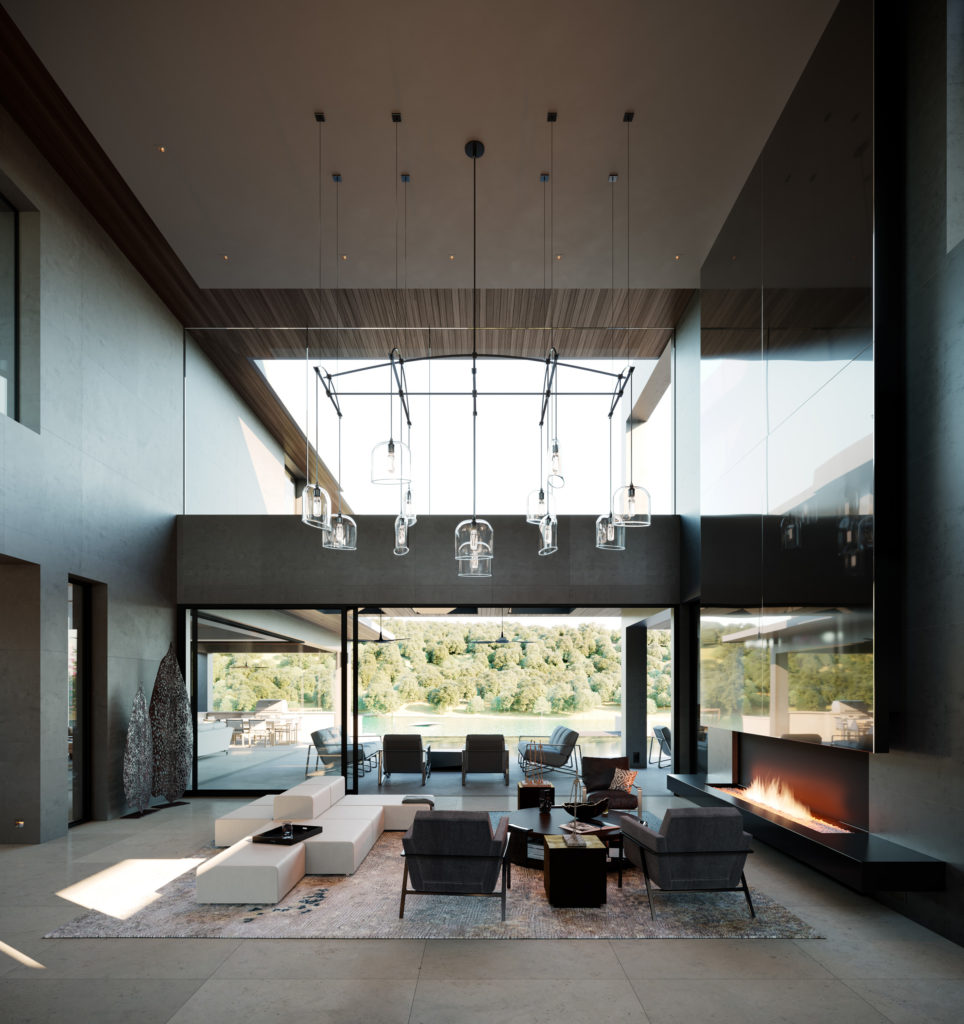
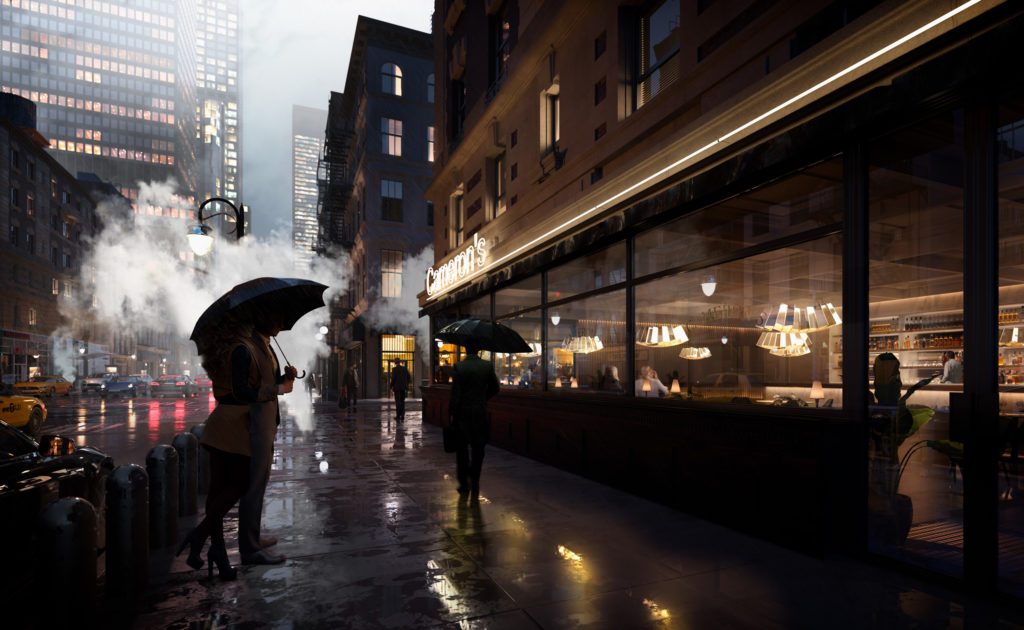
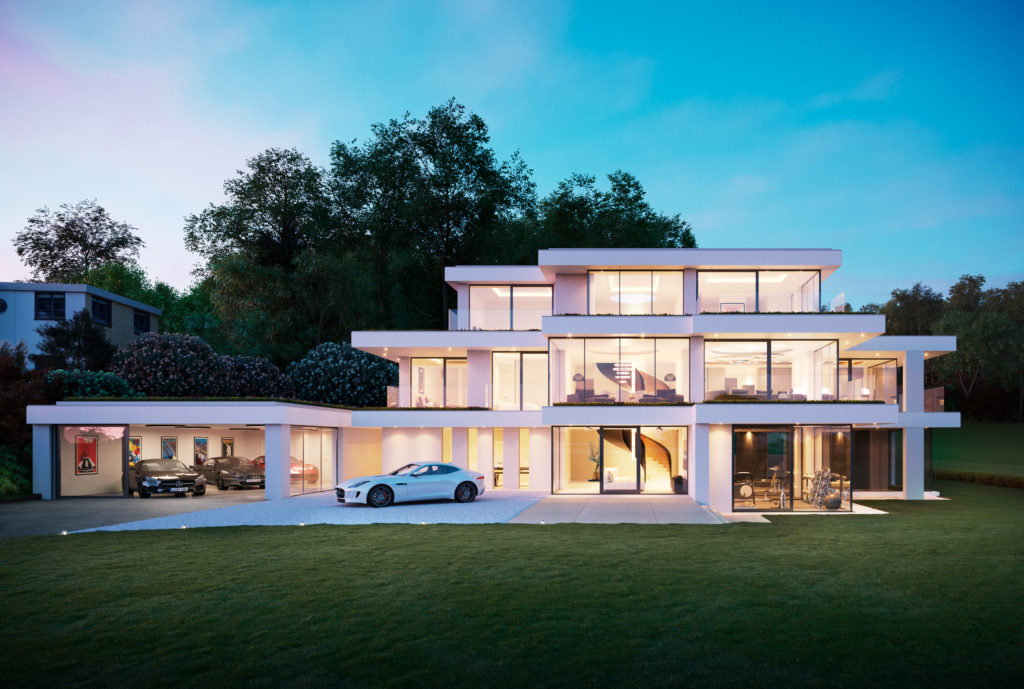
Recent Spaces spoke with us to give a breakdown of how they are adding animation and interactivity to pre-rendered VR thanks to development work they’ve done along with theViewer, to bridge the choice between photorealism and immersion. As part of that, they’ve been taking advantage of Corona Renderer’s compatibility with Phoenix FD too!

Read about photoreal VR with animation!
Recent Spaces + theViewer
Recent Spaces is a studio primarily known for ultra-high levels of detail, realism and atmosphere in our CGIs, animations and VR tours; but we’re also quite well-known for inventing new ways of marketing architecture and design.

A year or so ago we created our Fluid Images, playable with our Fluid Image Tool. These allow viewers to smoothly control the time of day in a space, open and close doors and windows, rearrange furniture and lighting layouts to showcase different room configurations, all photo-realistically (since it’s pre-rendered).
More recently we’ve been looking at VR and how we can further improve the level of immersion and realism we’re able to offer our clients when producing pre-rendered VR tours and experiences.
For any studio or individual producing VR (which is most of us these days, in some capacity or another), the current choice is either:
- Photo-realistic pre-rendered stereo VR tours, which mean excellent quality, but no animation or interactivity beyond moving between hotspots
- Or, going down the interactive real-time VR route, which restricts the level of realism/detail in the final result, and is still significantly prohibitive in terms of R&D and production development time. Mostly due to the quality of the final result, this is not an option for the clients we work for.
After a lot of research and experimentation, we are very proud to announce Recent Spaces’ and theViewer’s latest R&D innovation: Animated pre-rendered VR!
See it in action!
Before talking about how it is done, it’s best to see it in action. The resulting project can be easily embedded on a web page with some simple code. This is still 2D rather than 3D of course, but it lets viewers pan around the scene, and use the hotspots, all while the animation plays – just like below:
For the full experience, in stereoscopic 3D, follow the instructions below:
First, download theViewer application from the store of your choice on Android, iOS, GearVR, or Oculus Rift or GO. Simply search in the store for your device for “theViewer”, or you can use this website to find out where to download it.
On opening whichever app you have installed, you will see the option to enter a Magic Code – use the code ndpnhs and the scene will load – it’s as simple as that. You can read more about Magic Codes to see screenshots of the process and learn more if you are interested in how they could be used for your own projects.
The process
It’s been possible for a long time to render 360-degree video and use that on VR headsets, but the resolution usually needs to be fairly low to avoid issues and of course it means rendering full 4k/8k stereo frames, even if only a small area of the frame is animated, which is pretty costly in terms of render-time too.
Until real-time VR offers the same level of realism and detail as pre-rendered VR (a situation that might still be some years away) having some degree of interactivity, animation and immersion in a pre-rendered VR experience which also doesn’t require us to render out entire 8k stereo sequences is a significant step forward.
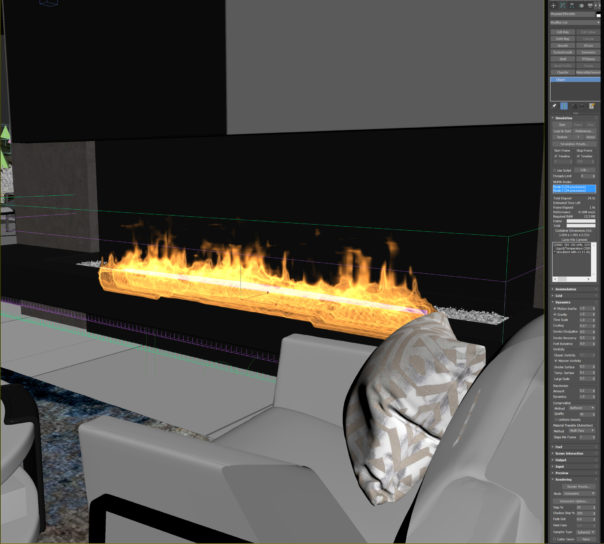
The idea behind this is very straightforward – instead of rendering entire 8k x 8k stereo sequences where the animated elements might only occupy some very small areas of the overall frame and therefore wasting considerable render-time and ending up with huge image sequence files that can’t be read by VR viewers, with our workflow and theViewer’s new tools you now only have to render the regions (or even the specific objects using render-selected) within the frame where animated content exists.

Great examples are fires in fireplaces (and the surrounding area where light might flicker), animated water such as pools, lakes, oceans, bath water etc. – Phoenix FD is invaluable for creating these. The same technique can also be used for other simple animated objects like ceiling fans.
Summary, and possible future developments
This guide is for a single panorama with animated elements – this can be done on any number of panoramas, as in our example, and then tied together into a standard VR tour.
Alongside theViewer, we’re looking into using this technique to make it possible to trigger animated elements within a panorama, for example opening a door, drawer, or a window (and then closing it again just by reversing the animation).
We hope this has inspired you to come up with even more innovative ways to bring immersive photo-real animated content to your VR projects.
Thanks,
Alex, Iain and the Recent Spaces team
Recent Spaces
About Recent Spaces

Recent Spaces is an industry-leading London-based 3D architectural visualisation studio, producing beautiful, accurate and engaging still 3D CGI rendered images, animations, VR & AR experiences and Fluid Images for developers, architects, branding agencies, interior designers, product designers and artists, worldwide.
About theViewer
theViewer is an online platform allowing you to turn your 360 images ( spherical or cube strips ) into an amazing VR experience. Thanks to features like Shared Experience you can fully control the presentation process and you can meet your customer in VR with your own personalized avatar. Read about how to get started with your own projects!
I have never saw VR like this before. Just amazing what is possible! Thanks for this great article.
I love it too! Great to see full quality VR but still with some motion and life in it! Thank you for the feedback and glad you liked the article 🙂
Very interesting article,
But where is the guide that explains how to add animated elements?
I don’t see how it’s done.
Best regards,
Vincent
No guide at the moment (though one may follow) – contact theConstruct for now who will work with you to enable that functionality, including the steps you need to follow 🙂
Beautiful minimalistic design. Gorgeous.!
Hello,.
If you put a simple 2D Plane/polygon in front of the Fireplace (that is a Yellow circular gradient), OPAQUE YELLOW on the inside CLEAR on the outside ring. Make it mostly transparent then animate the transparency with noise functions etc,
It would look like the light from the Fireplace, is affecting and lighting up the environment in animated fashion, really connecting it to the room!
Any tutorials on how to render the animation? Thanks in advance!