We spoke with Andres Saarnak, of Saarnak Visuals, about how he started in 3D, founded his own company, and in particular about how he approaches product rendering, such as his work for the KEHA 3 catalog. NOTE – be sure to view the full-size images to appreciate the detail, as some of these are 5K renders!
Read more!
Hi! My name is Andres Saarnak. I created my first 3D images in 2005 when I was 15.
For years, it was very casual and sometimes months passed where I did no 3D. At the time I didn’t have an interest in any particular field, so I tried a lot of different stuff, e.g. character modeling, rigging, bombs exploding, meteors falling from the sky and so on. It often started with some interesting tutorial and most of the time the end result wasn’t very good, but I had fun and I think it gave me a good foundation.
As time passed, I started to lean towards architectural and product visualization. Although I was taking it more seriously and put a lot of effort and hours into learning 3D, for a very long time it never crossed my mind I could get paid for 3D. I never looked at it as anything other than my hobby.
One of the biggest things that changed my approach to 3D was the Making of Esherick House tutorial series by Ludvik Koutny (who, by the way, is now one of the Corona Renderer team). After that, I began working on projects to build a portfolio and I started thinking about doing this as a job.
I was studying mechatronics at the time (a combination of mechanical engineering and electronics) when my girlfriend, who worked in an architecture bureau, landed me my first paid 3D project in 2012 and I never looked back!
After three years of freelancing for different 3D studios, I realized that in my country there weren’t any visualization companies that had the same goals I had, so I created Saarnak Visuals. It was a slow start for the first few months as I didn’t have many contacts from my freelancing years, but it was actually surprisingly easy to get new work through e-mailing. Another person joined the company last year and our client-base has now grown quite a bit through word-of-mouth, to the point we have some flexibility to choose projects.
We aim for high-end imagery. I believe in taking time and putting in the effort to craft something beautiful and well thought-out, so I always suggest to my clients that they give us more time if possible, even if it sometimes means lower profits for us in the end – it’s just that much more fun this way.
In our first year, it definitely wasn’t always possible to work only on super-great projects so we have been seasoned on tight schedules and budgets, too. When I created a company, I read a lot about bad experiences with clients not paying or asking for silly changes that make the image worse. I am very thankful that all my clients so far have been very professional and great to work with!
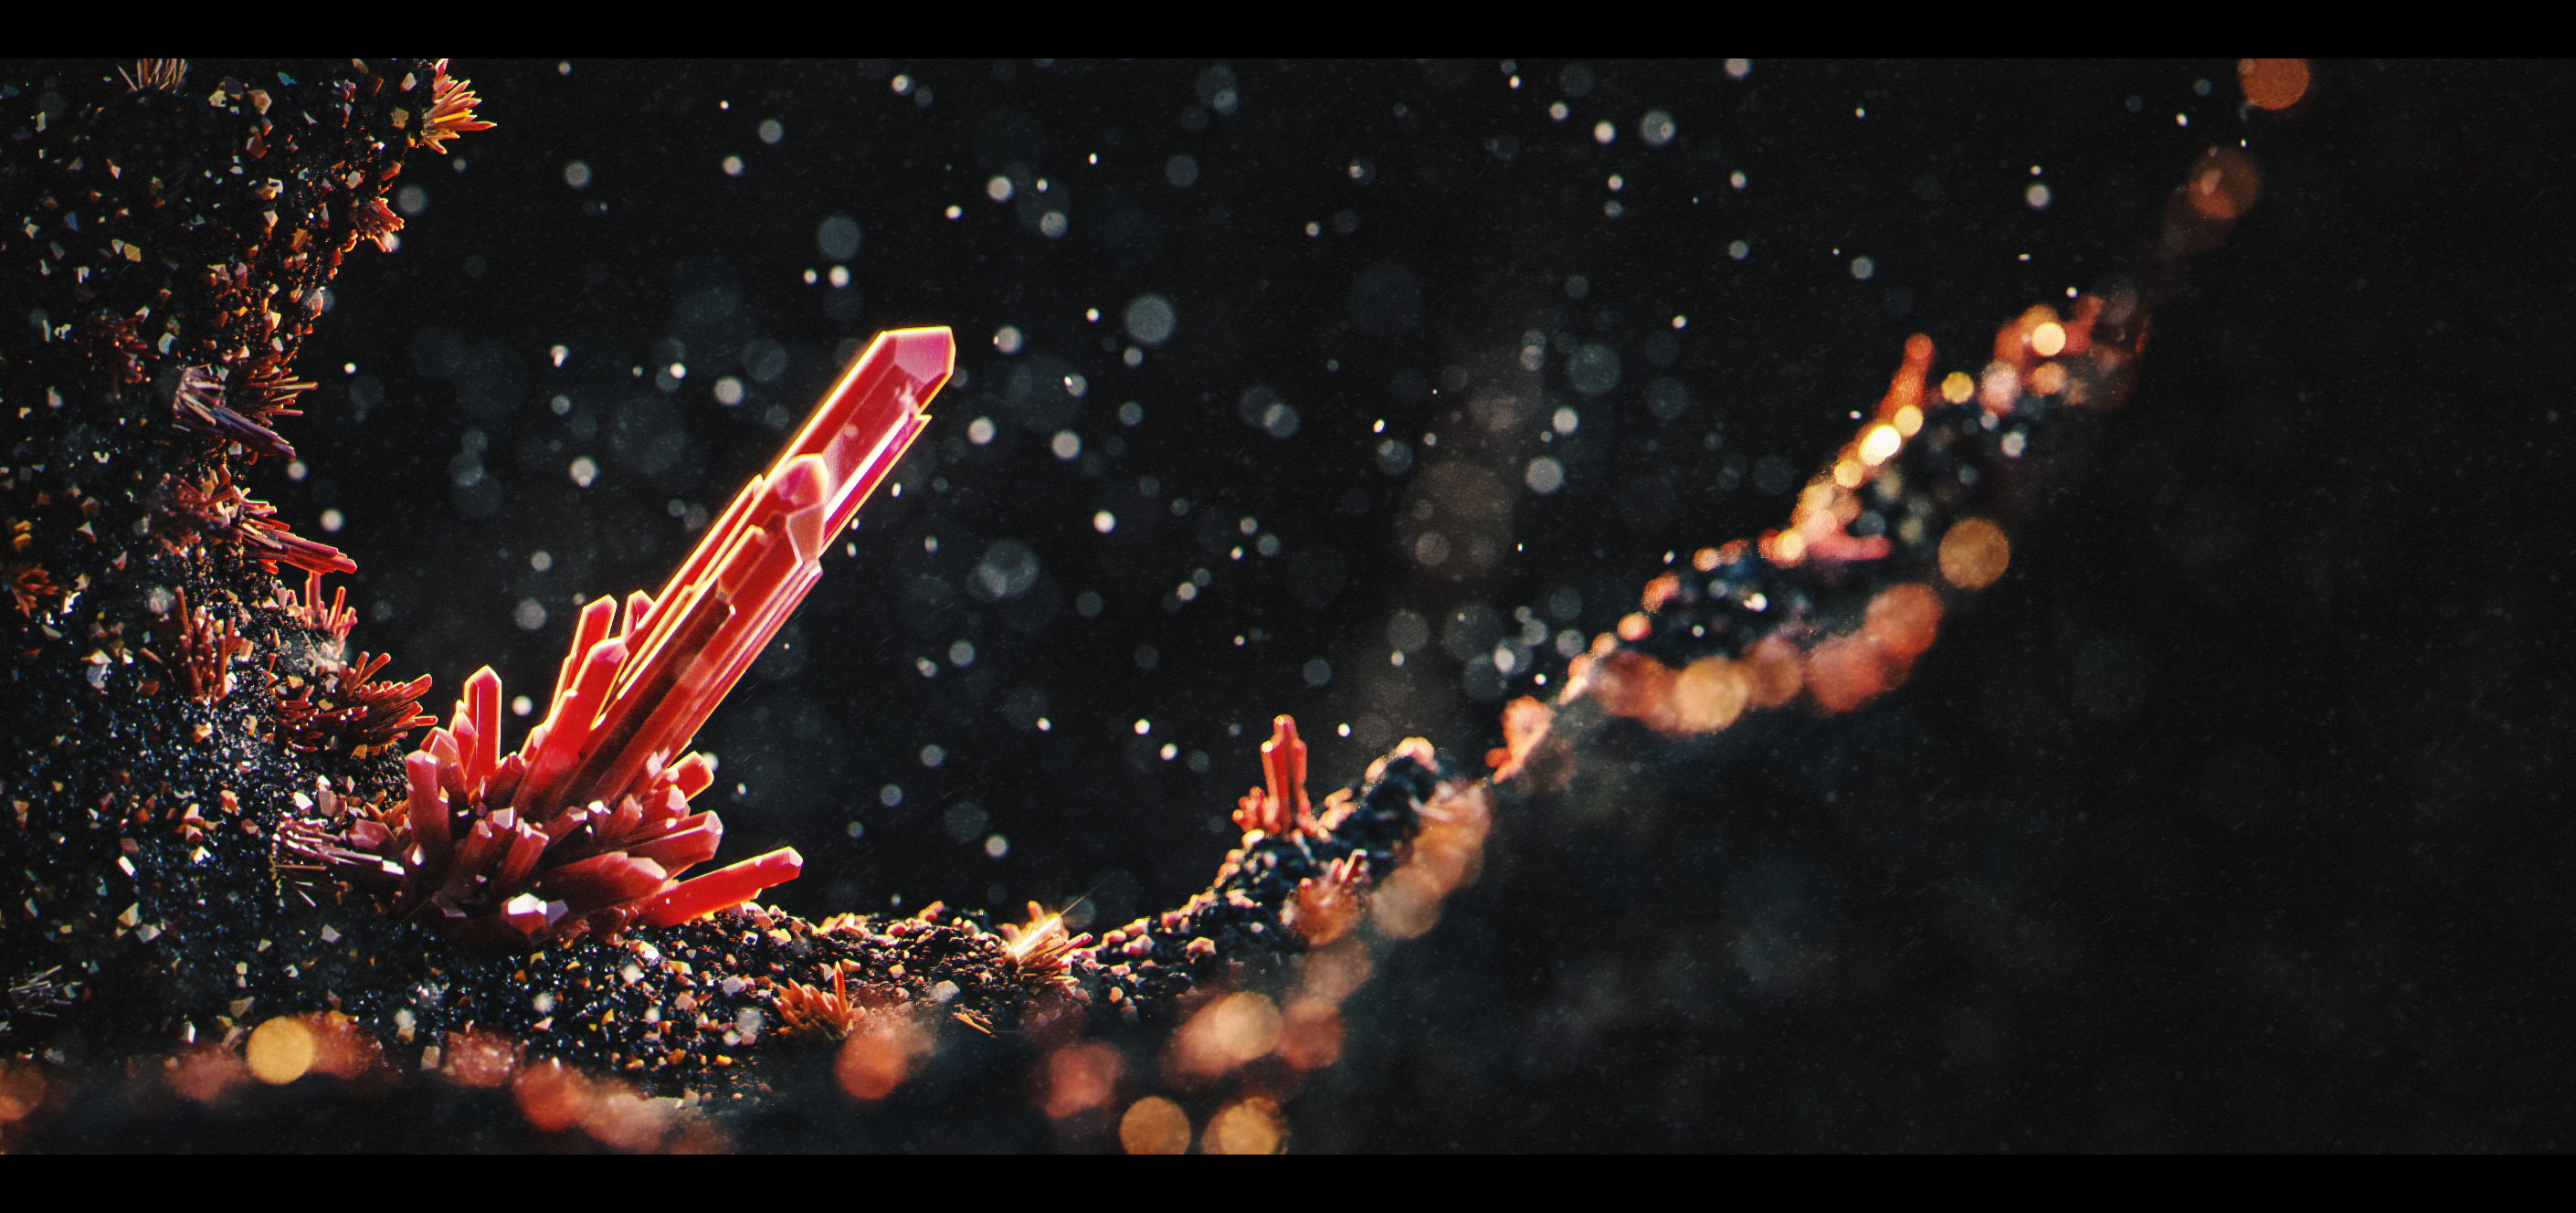
I see you still create 3D for the fun of it – does that keep 3D fun and interesting?
There is so much inspiration everywhere and there is always something I’d like to try out. Ideas come easy, but making it in 3D takes time and most ideas never even get started. Sometimes I tackle a project in a few hours to a few days, and those are always fun. I am usually working on a larger-scale personal project, too, but these move along quite slowly.
That’s why I am always amazed at how consistently B.Benoit or M.Denko can make a new high-quality and serious scale personal project every few months! And Denko’s work is, of course, a great inspiration for how to approach a personal project – the idea behind the image is personal. Although the approach is kind of self-explanatory, it’s so rare to see it in 3D arch viz among a lot of generic interiors.
While I’m sure doing personal projects helps me improve, I really just do them for fun. When learning specifically something new, for example, GrowFX to create vegetation, I don’t have a goal in mind for creating images with it, and I just work with the tool only to learn it.
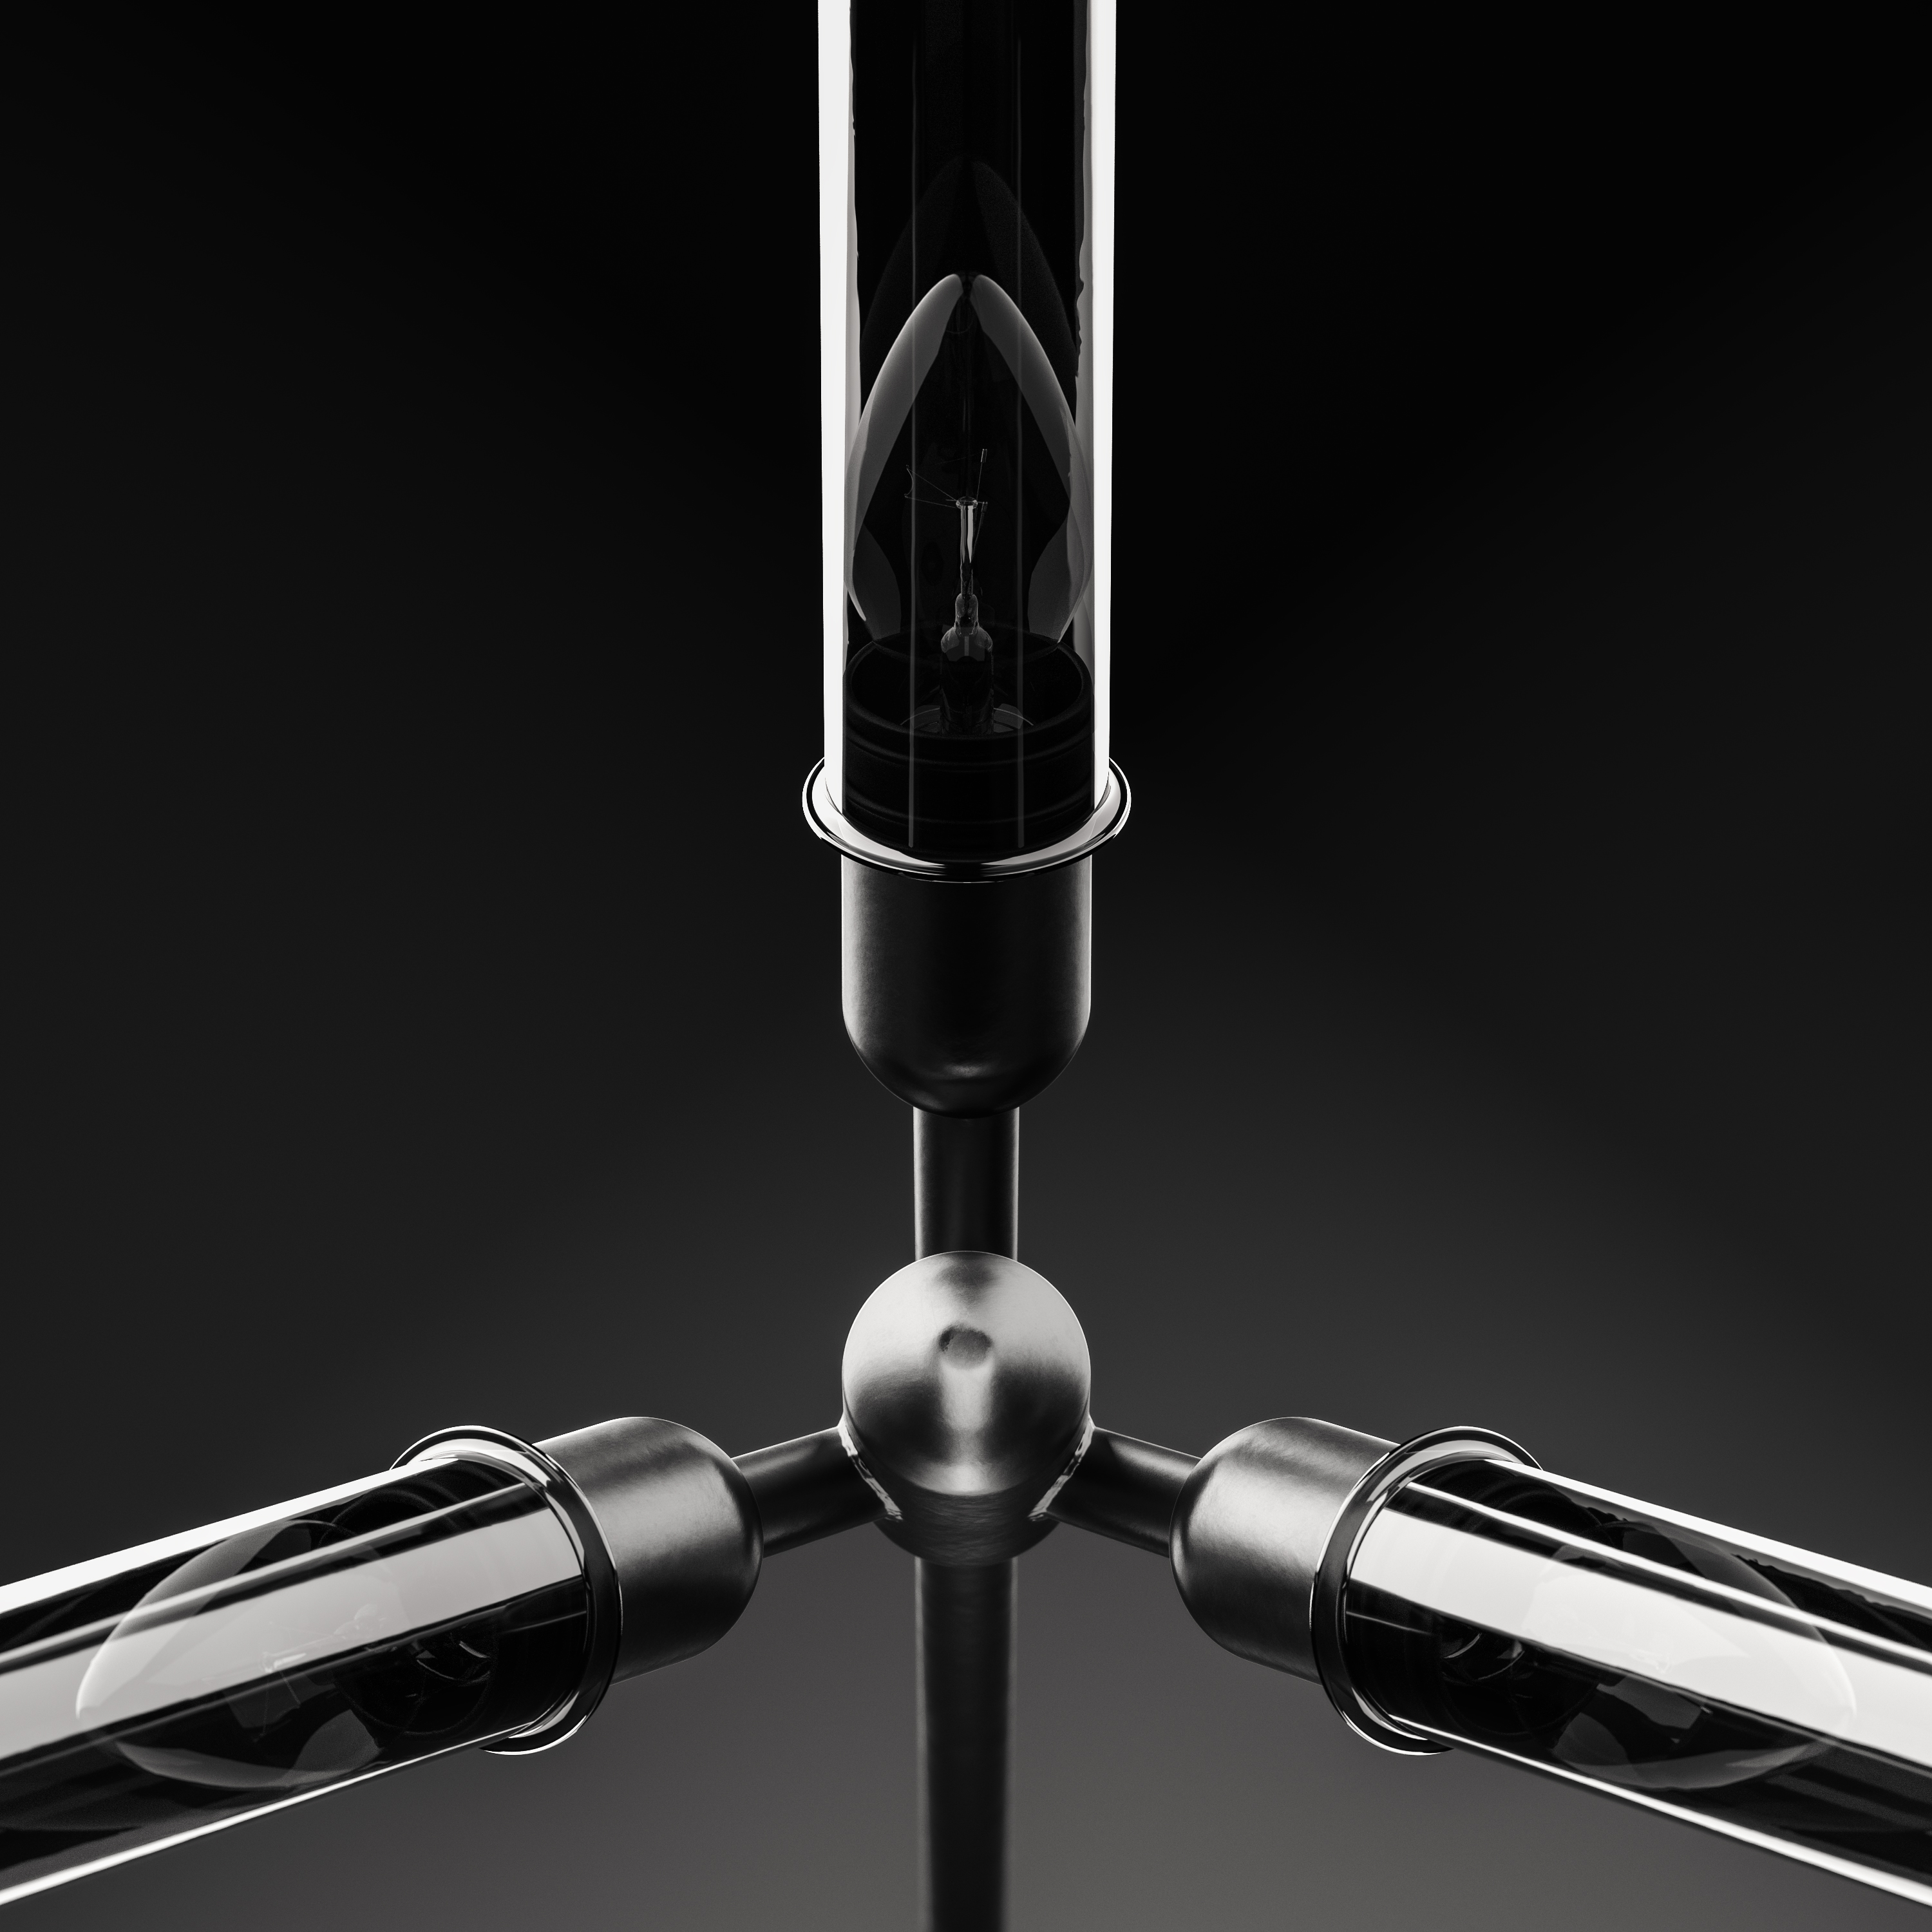
Were the objects provided for the KEHA 3 project, or did you model them?
We were provided with basic models which we had to improve, or in most cases remodel completely. The objects were quite simple and we used very basic modeling. The details that were the most unusual and interesting were welds, and wire metal-skin.
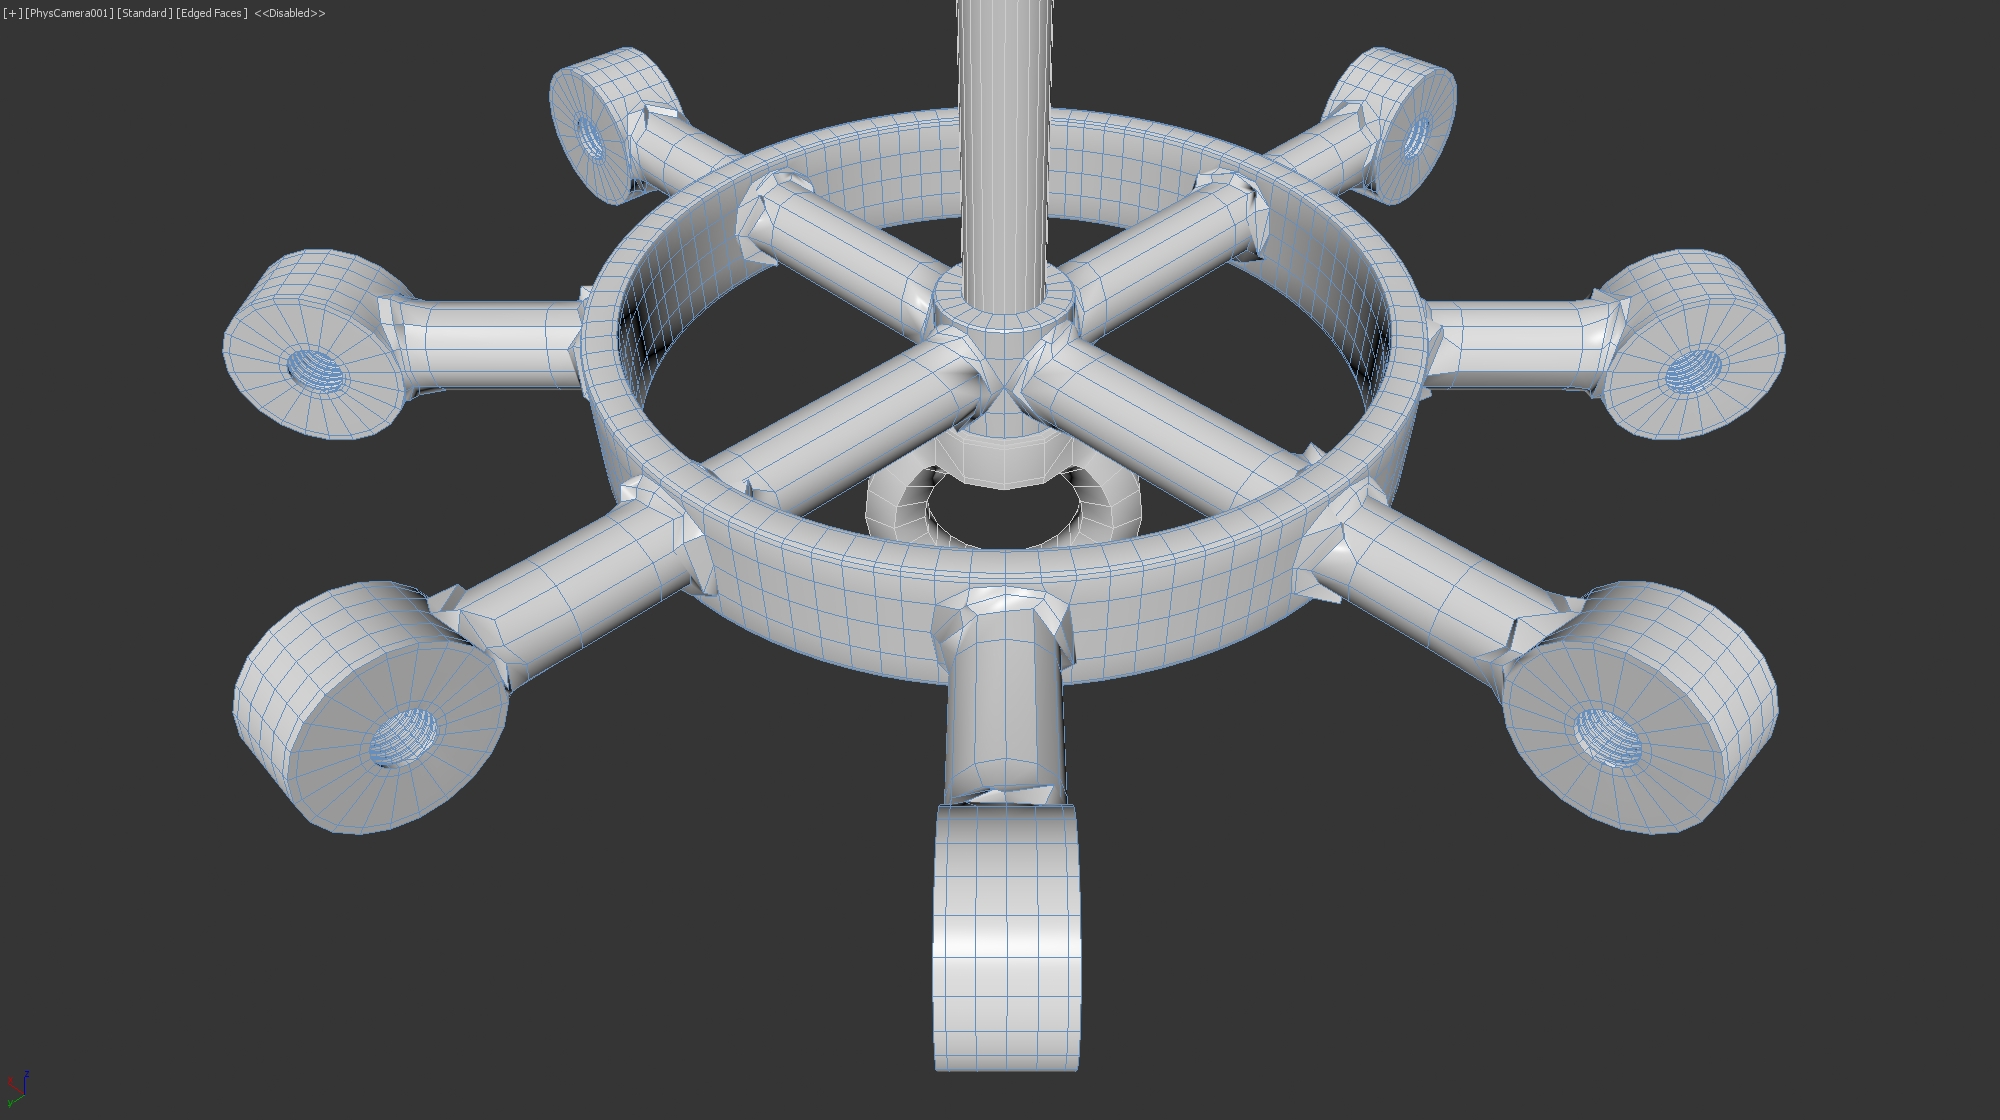
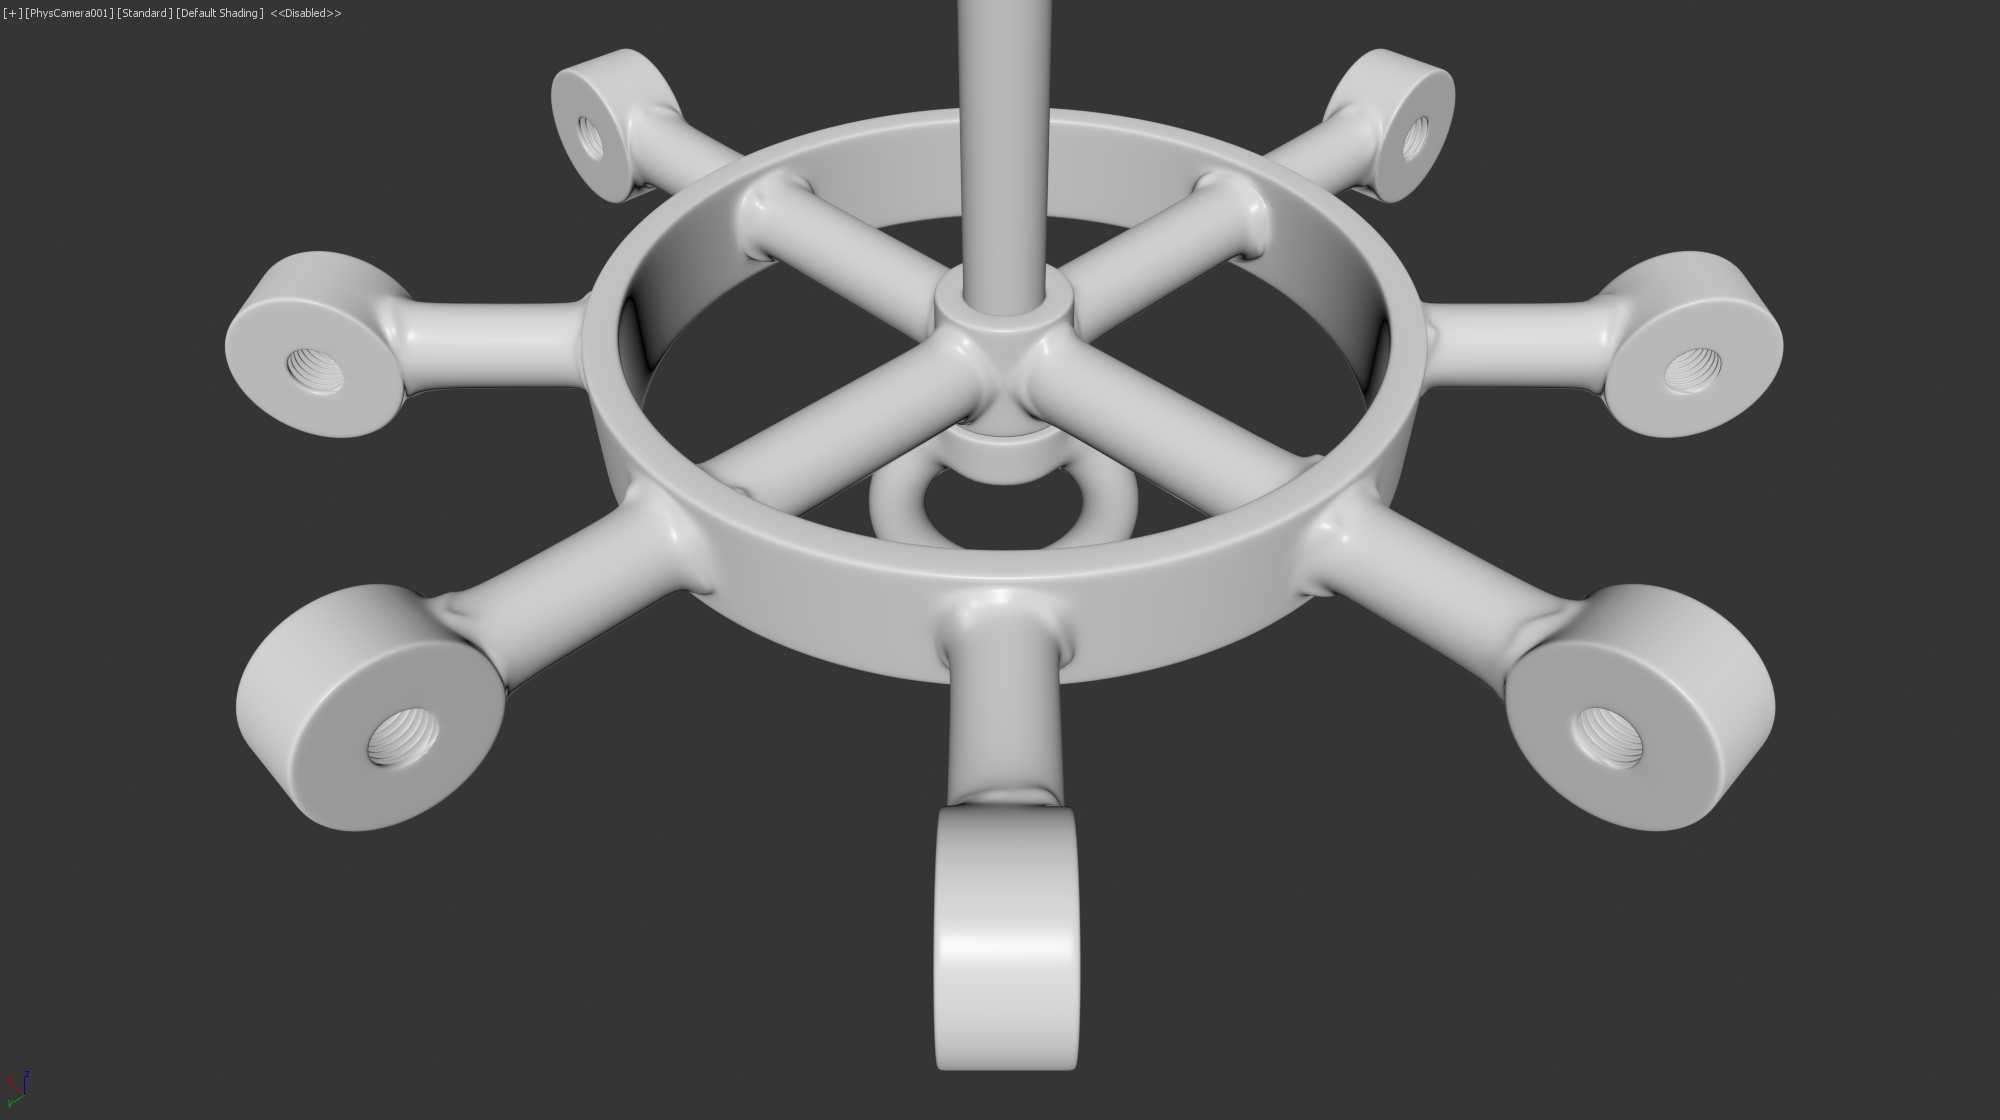
There’s a tutorial showing one way of modeling welds is shown (using Cinema 4D, but the workflow applies in 3ds Max, too). This seems to have more control than the technique we settled on, but we needed another type of welds so we used a different technique, which was fast and good enough for us. You can see our technique in the images below:

And here’s a result where we used a lot of copy-paste of the welds:
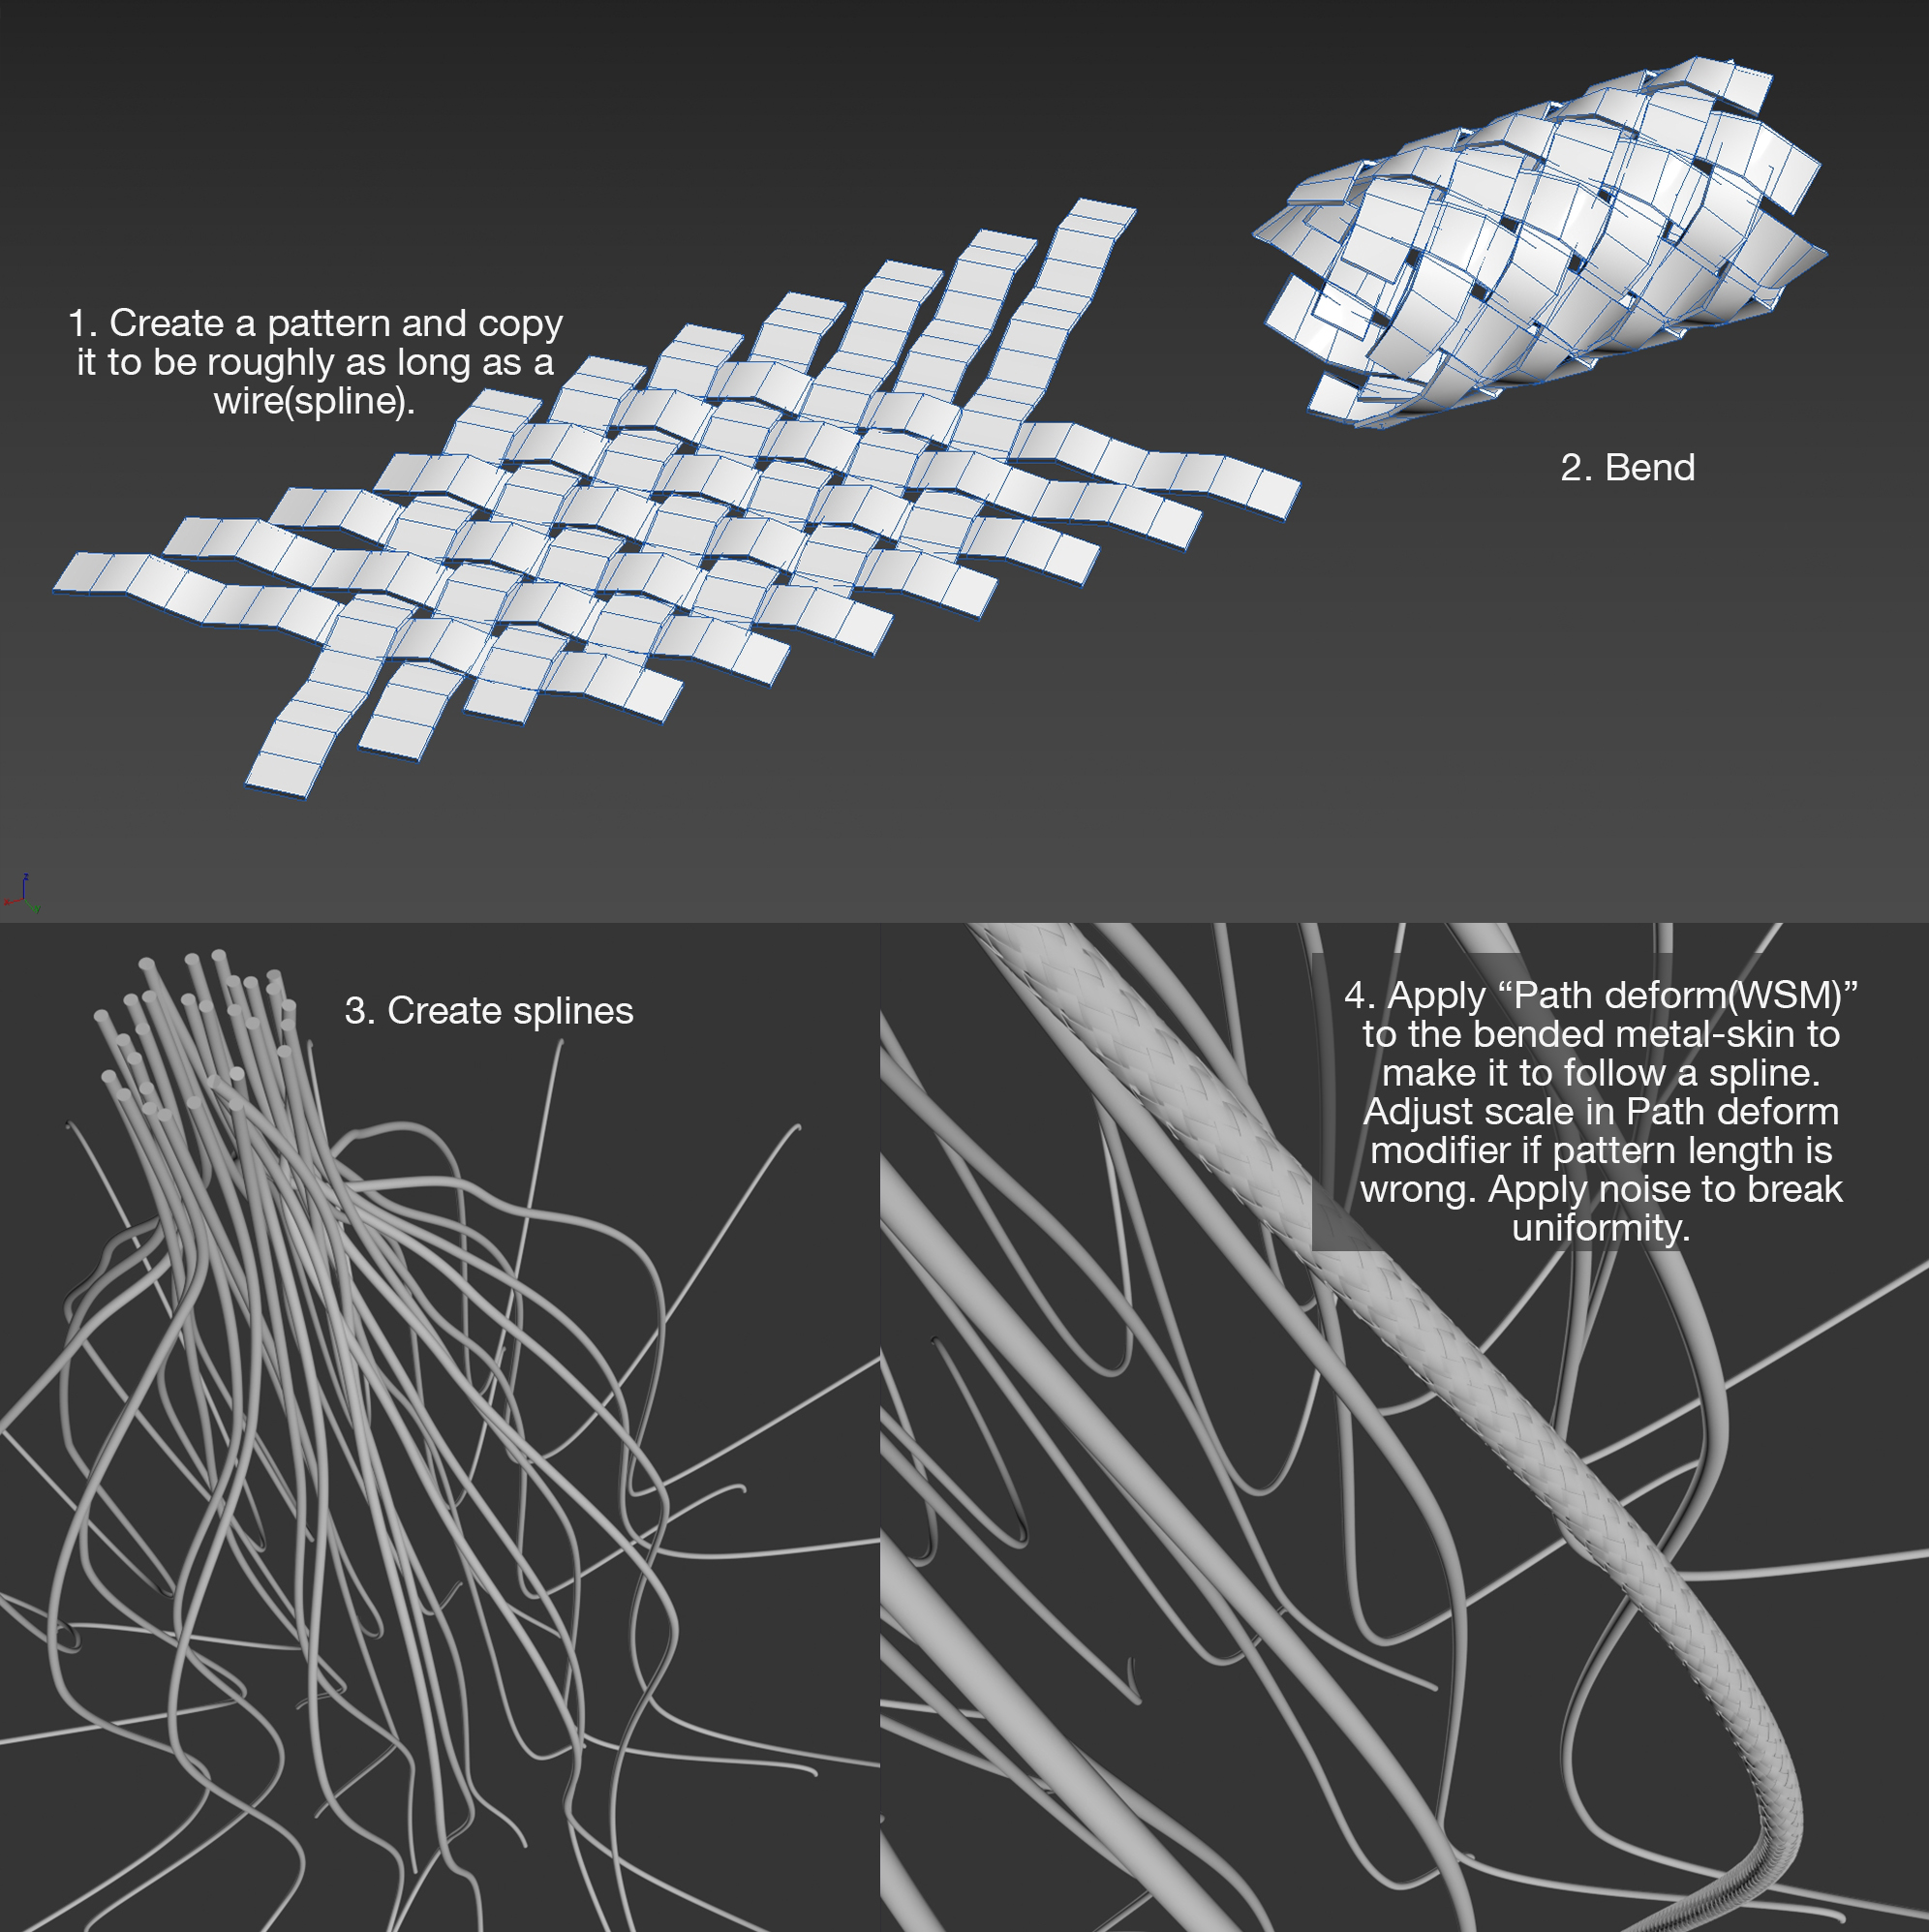
For the metal mesh skin, making a metal-skin shader might have been the easiest, but we looked into various techniques and ended up modeling them. There’s a free to download example here, but the technique we ended up using is shown below:
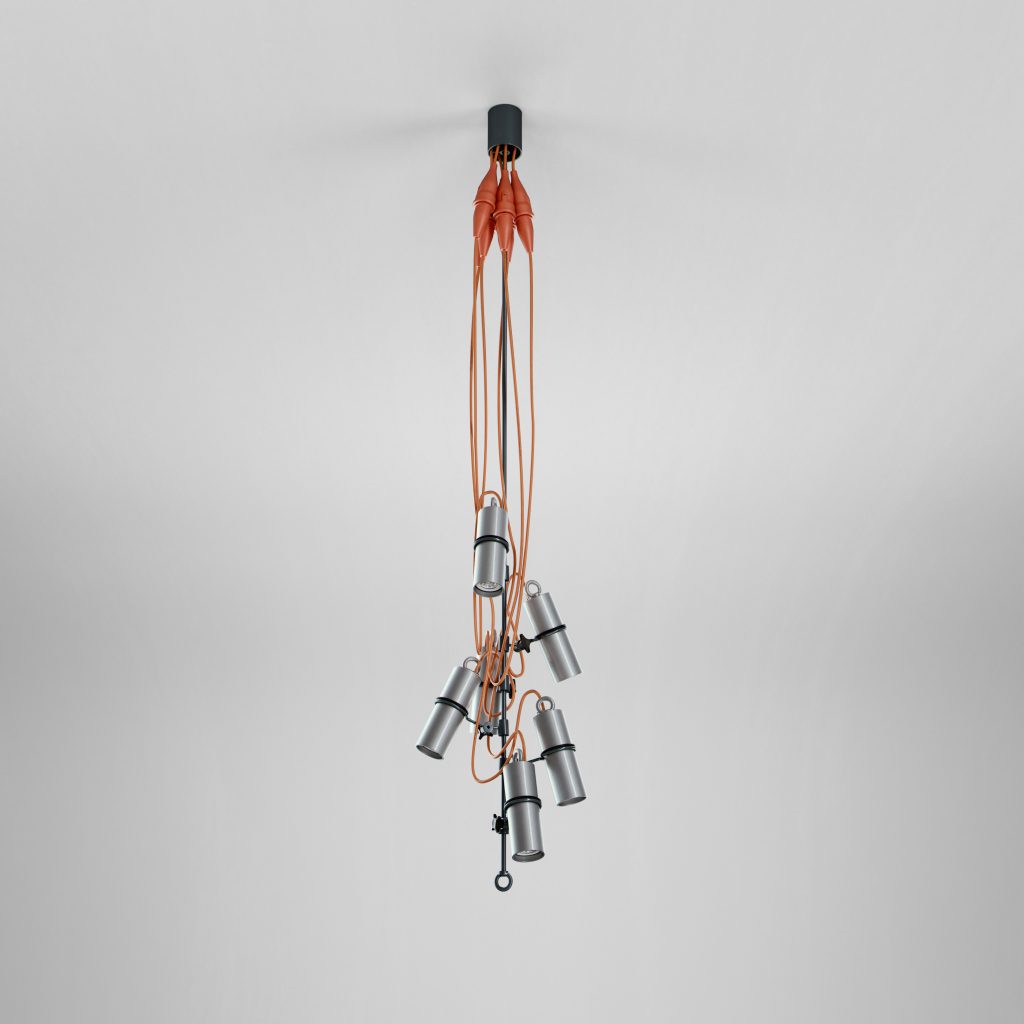
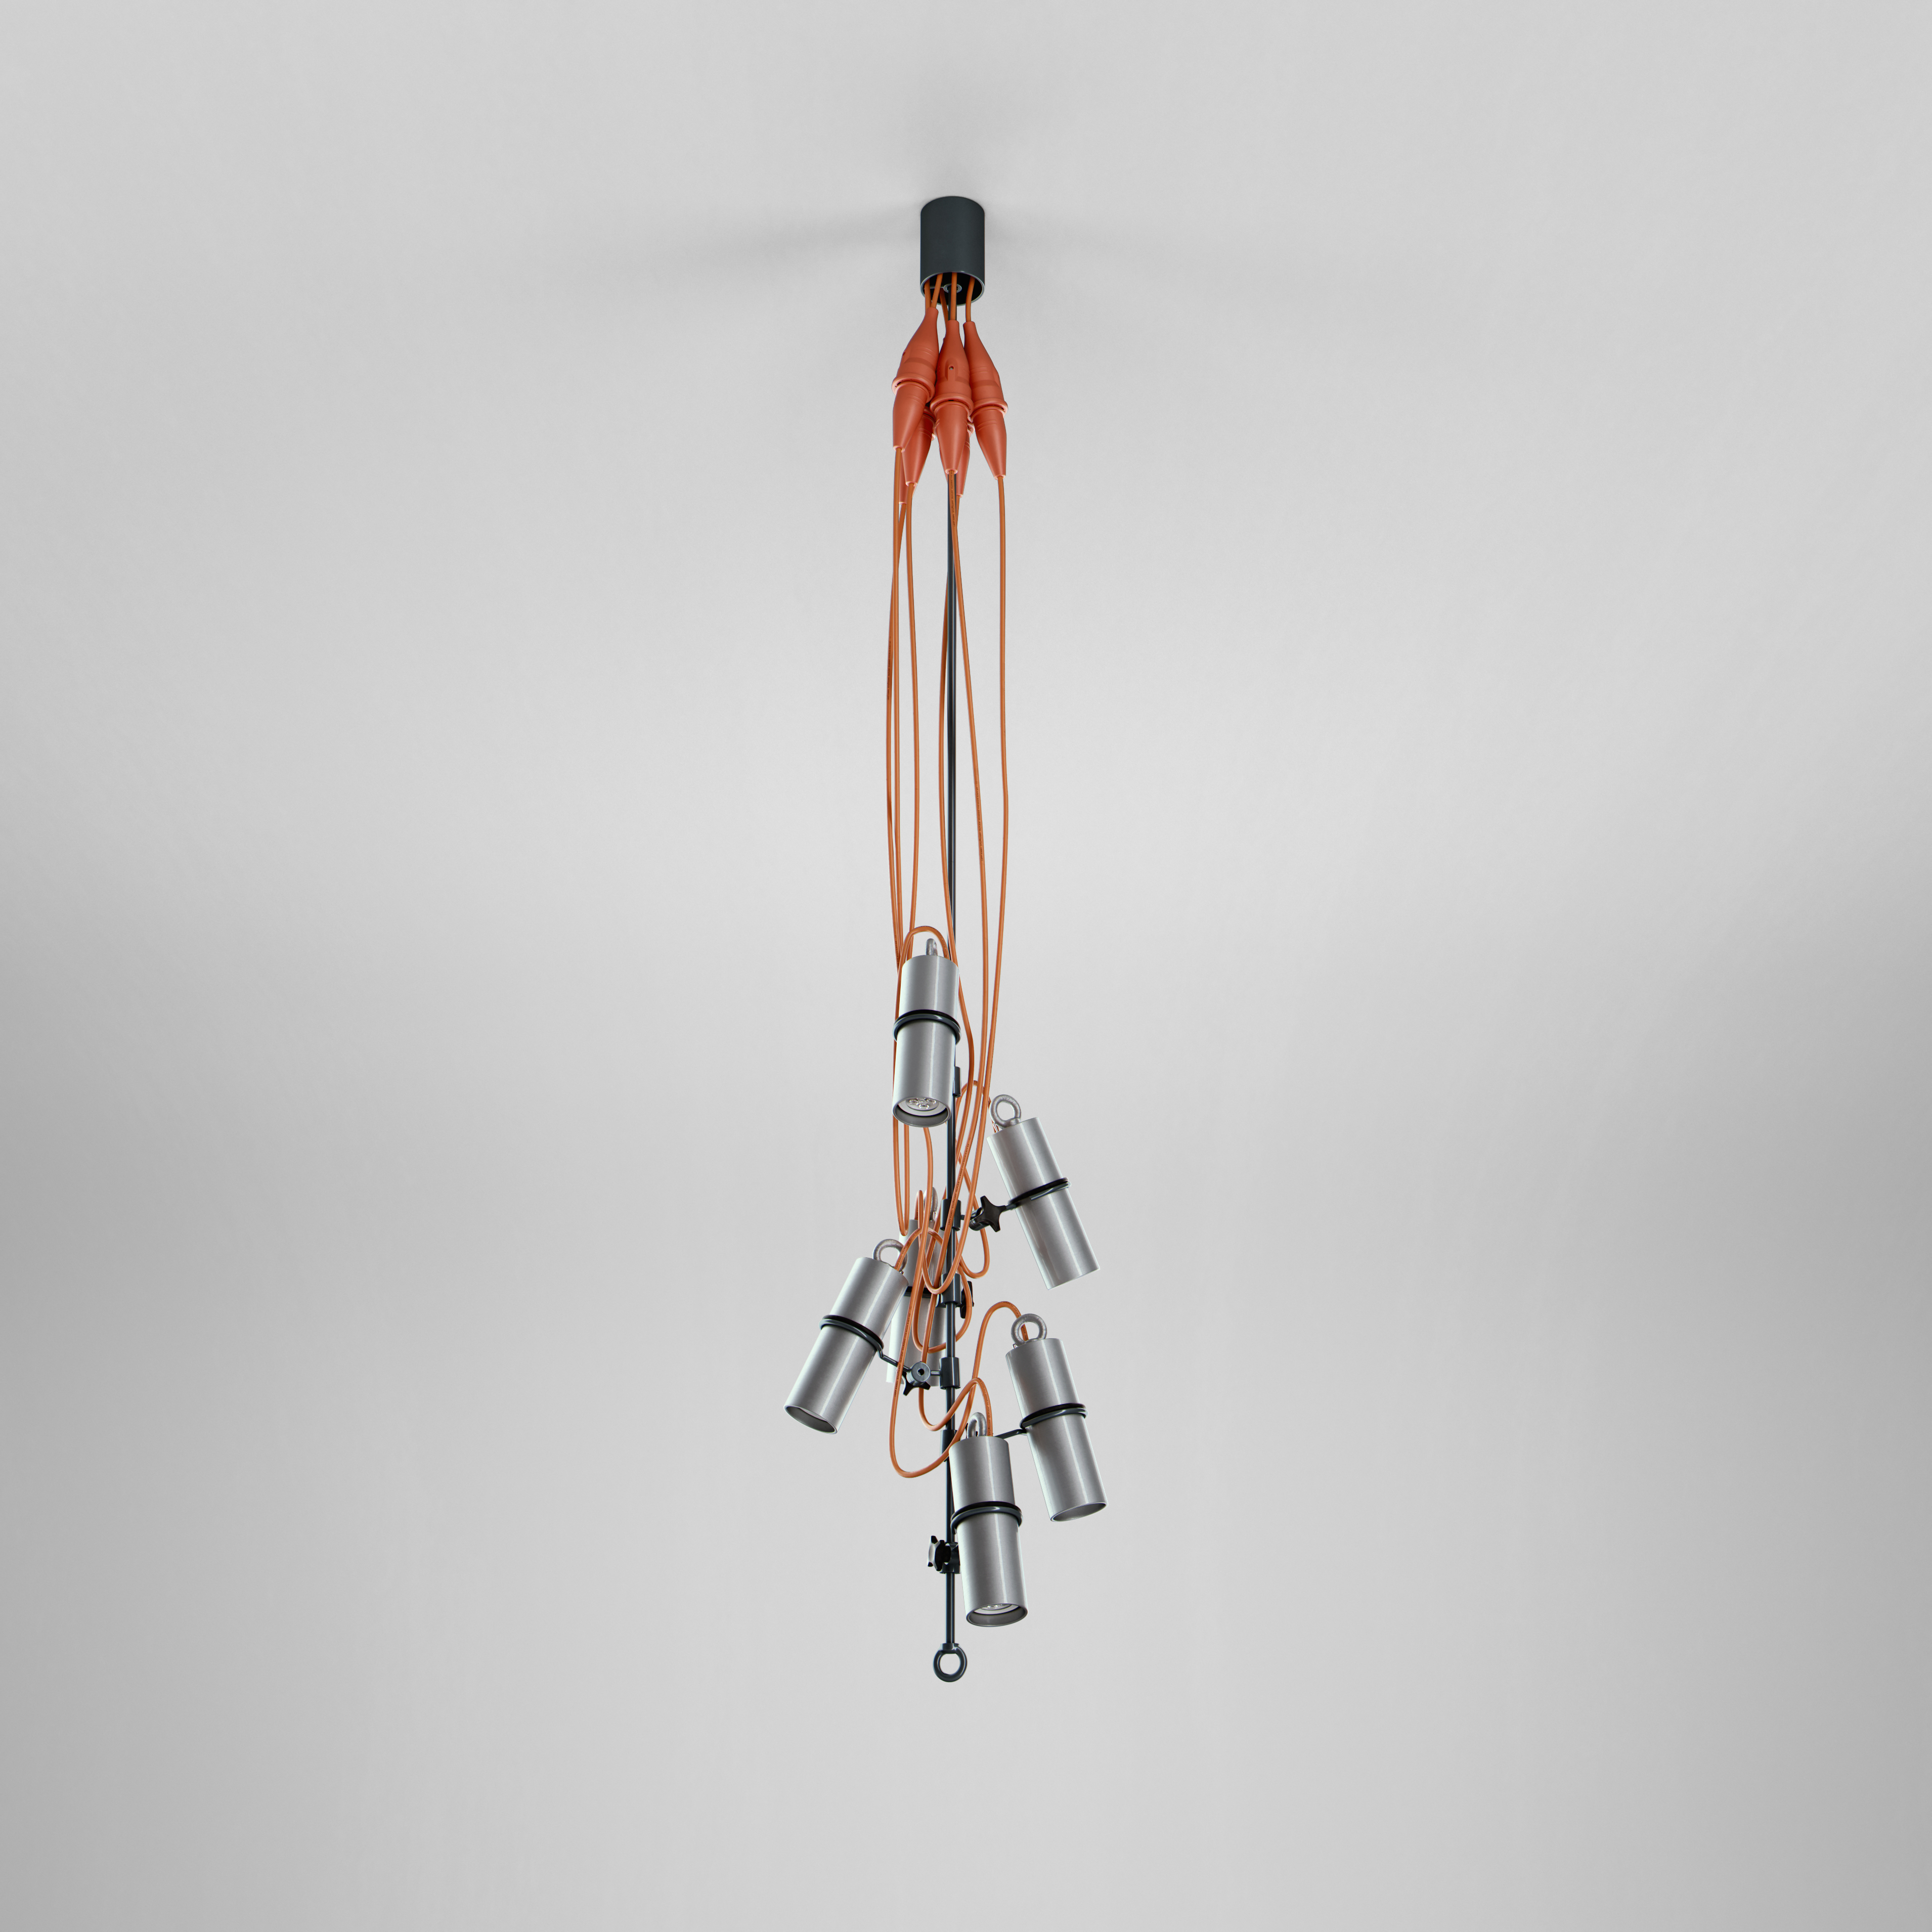
What was your workflow for creating product illustration shots like these?
- Modeling: We had to model about 60-70 models, but there wasn’t anything too complicated and a lot of the elements could be copied.
- Basic scene setup: Background and very simple three rectangle lights just good enough to create materials. From this point on, I used Interactive Rendering.
- Materials: A lot of tweaking as usual, with references and Interactive Rendering on the second screen. As the project was made in Corona Renderer 1.3 before the PBR materials were introduced, I don’t think it’s useful to show the materials themselves!
- Fine tuning the lighting: A lot of experimenting! I tried gradients on lights, different temperatures and so on, but in the end, the most important part was just to move lights around to get specific reflections. In some rare cases, I created some tiny rectangle lights to give reflections off a particular part of the model. I wanted to get a final image out of one rendering and not blend different lighting conditions in Photoshop like photographers and sometimes 3D artists do.
- Scene states and rendering: I set up a scene state with different lighting if needed for each lamp and let several images to render overnight. Back then I upped the GI vs. AA balance quite a bit as it produced a noise-free render quicker, but this meant a very low number of passes and it wasn’t nearly enough for the AA and quite a bit of detail was lost because of this. I’m kind of ashamed to say that some finals were rendered in just 35 passes!
- VBF+: This plugin was an excellent addition to Corona Renderer back then – now of course, Corona’s own VFB is just as good. I did 99% of the post production in VFB+. The only thing I did in Photoshop was to desaturate the backgrounds.
The client first saw test images in step 3. We agreed on a style quickly, they trusted us and gave us quite a lot of freedom. It was a great experience! We created around 70 images and I’d say it was pretty efficient workflow overall.

A big challenge with product illustration is it often has to be shown in a very simple environment, what are your tips for that?
I think it’s important to define the object edges against a background. What I mean is shown here.
In the end, I’d say it was still mostly trial and error. First, I created basic three point lighting, then started Corona Interactive Rendering and moved those lights around until I found something I liked. The instant feedback of Interactive Rendering was, of course, crucial here.
Do you set out to recreate the setup of a photographic studio in terms of positioning of lights?
I try to keep in mind what photographers would do, but my knowledge in that regard is somewhat limited and I have to experiment a lot. Since it takes just seconds to see what impact changing the light size or applying a gradient to it has, a lot of different scenarios can be tried out in very little time.
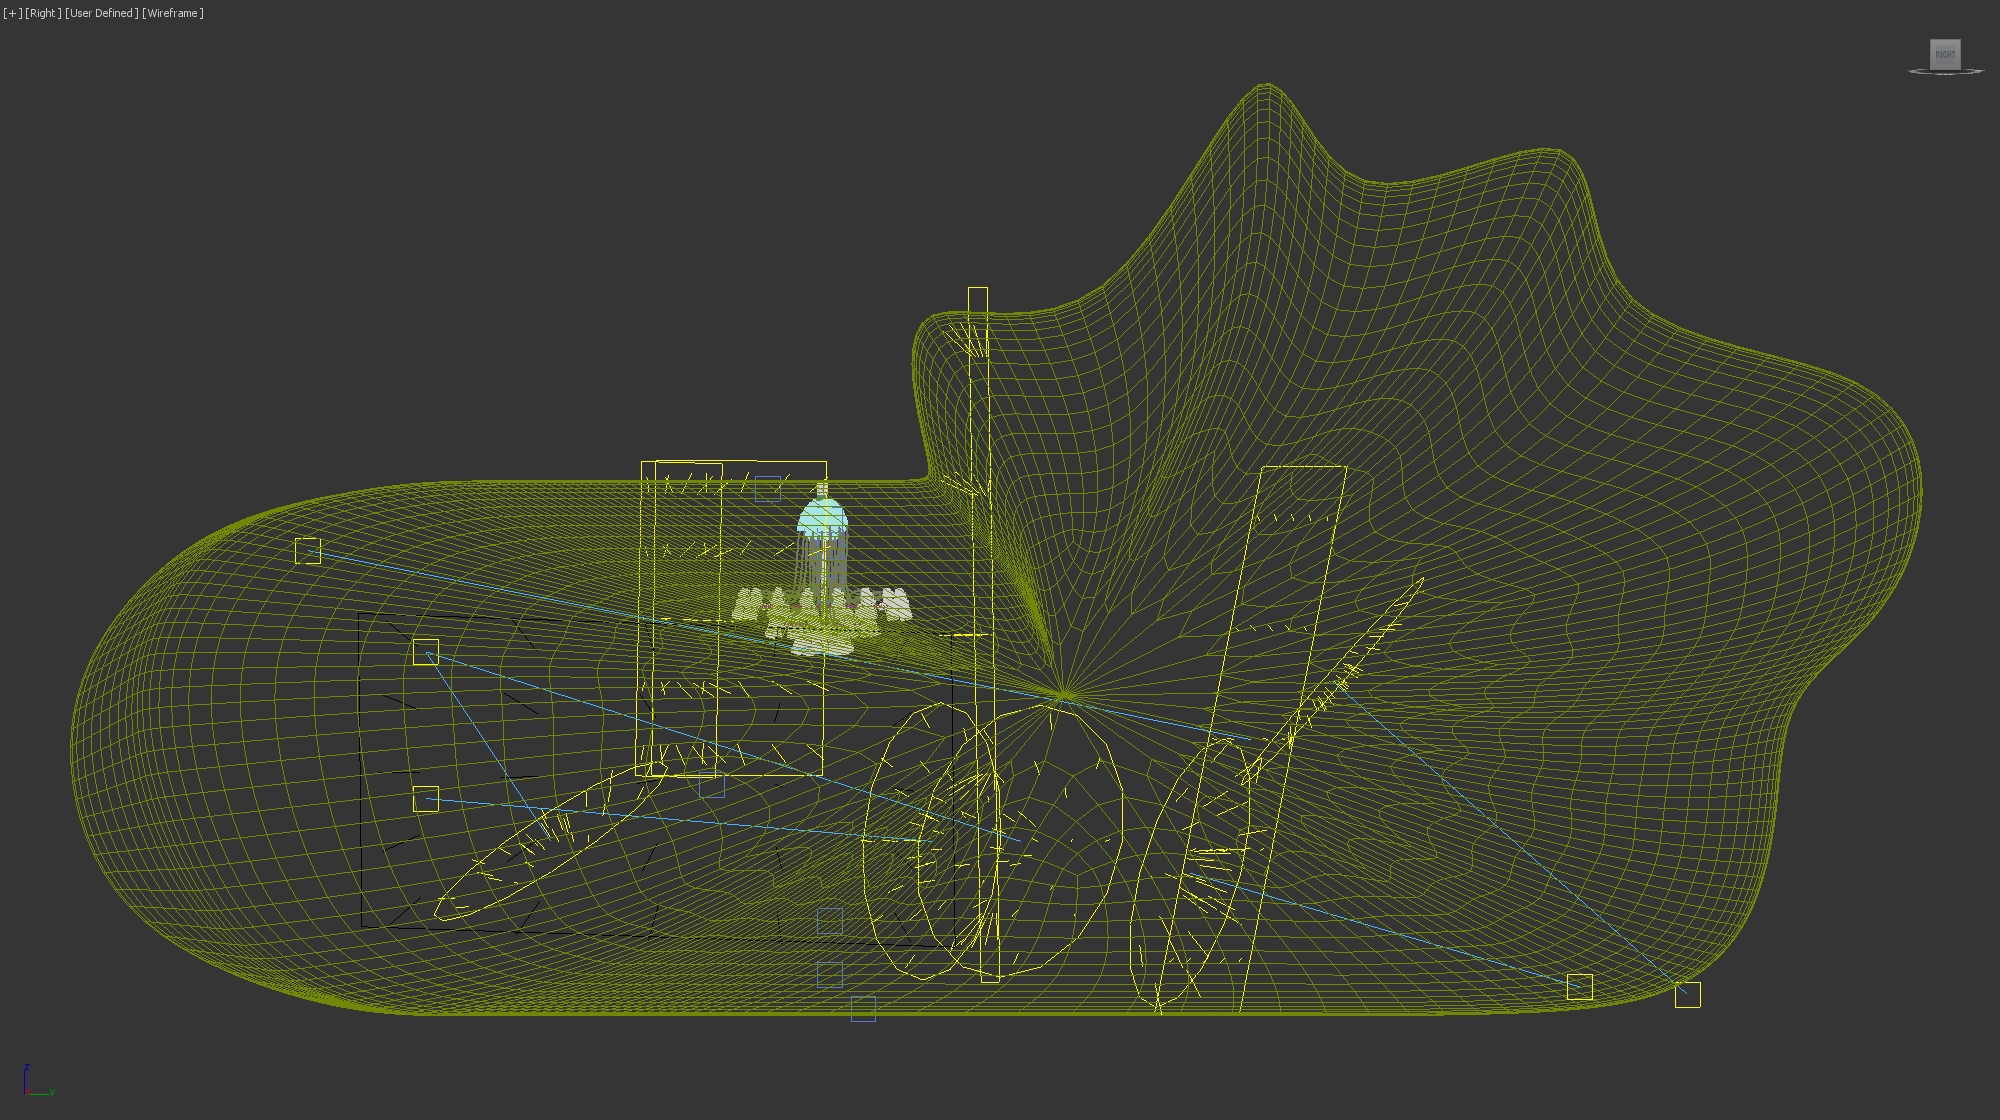
One scene, for example, ended up with a complicated setup, and seeing this now a year later, I’m asking myself if everything there was really necessary! You can see the setup below:
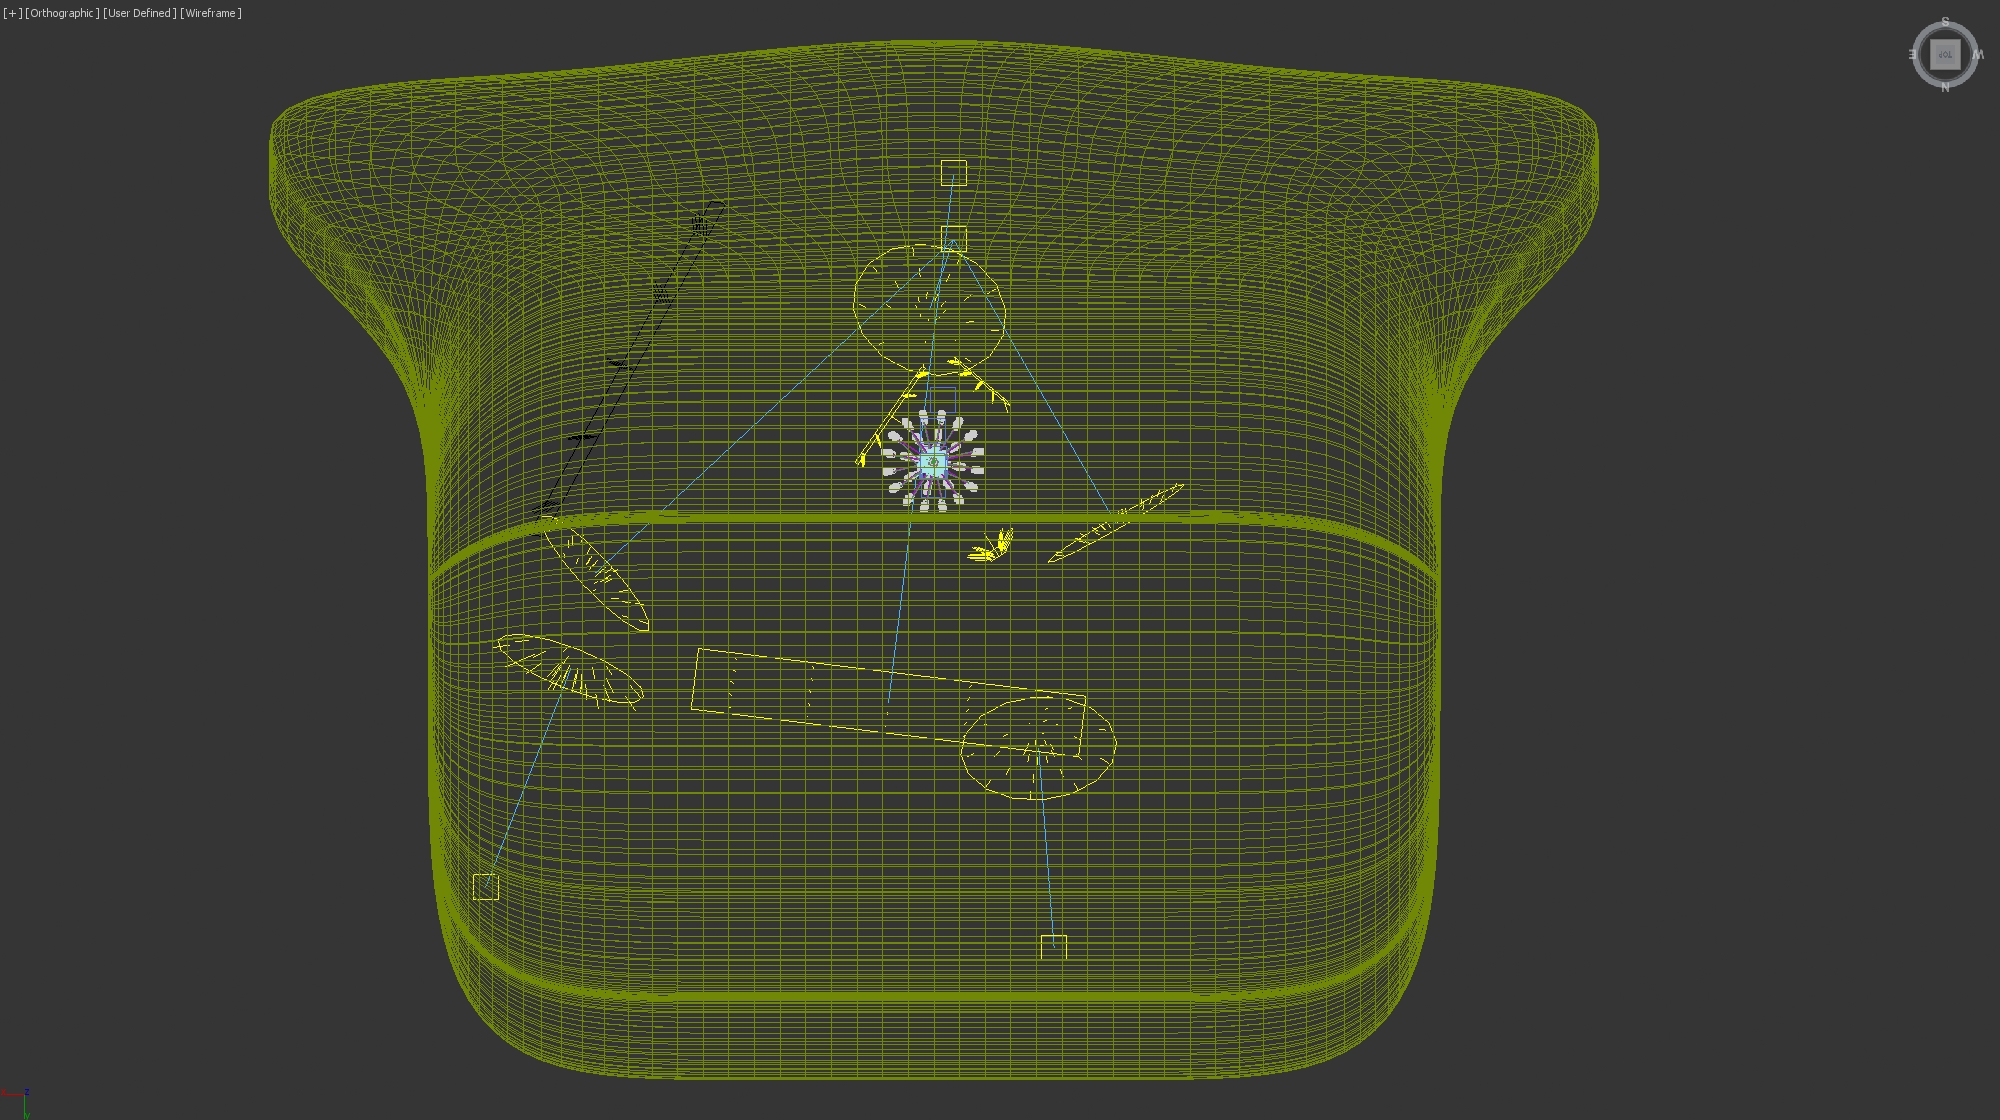
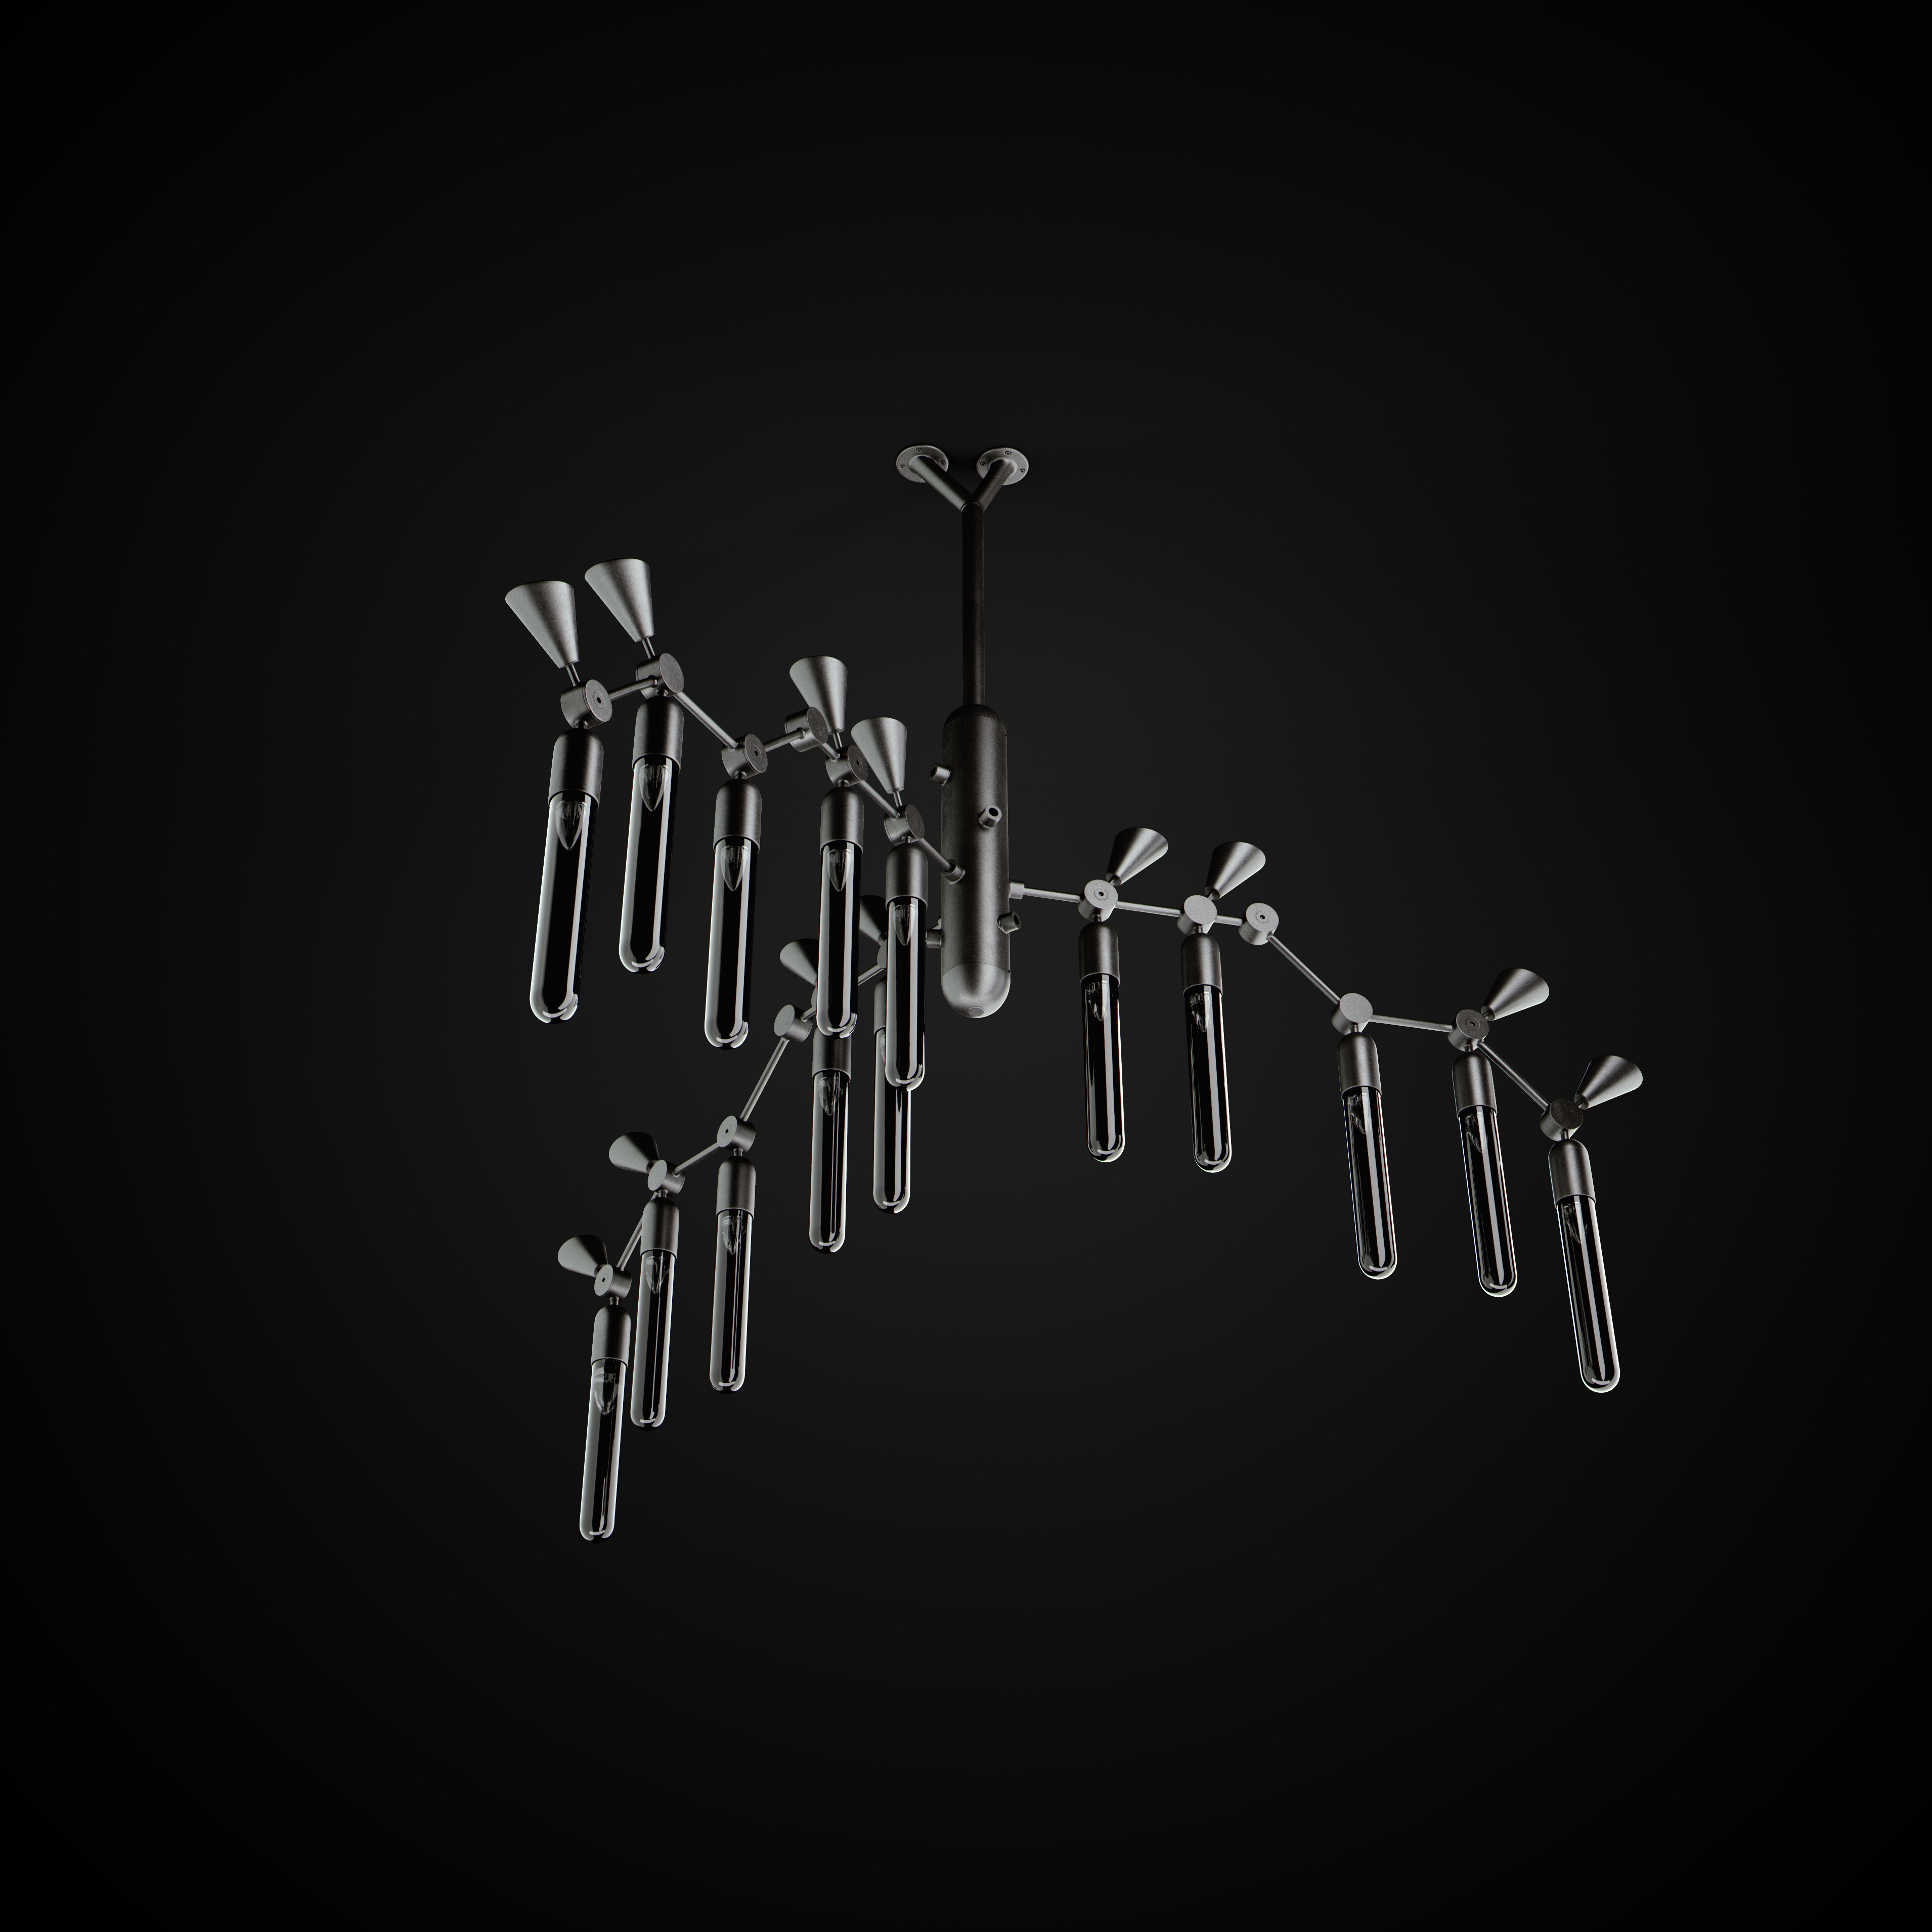
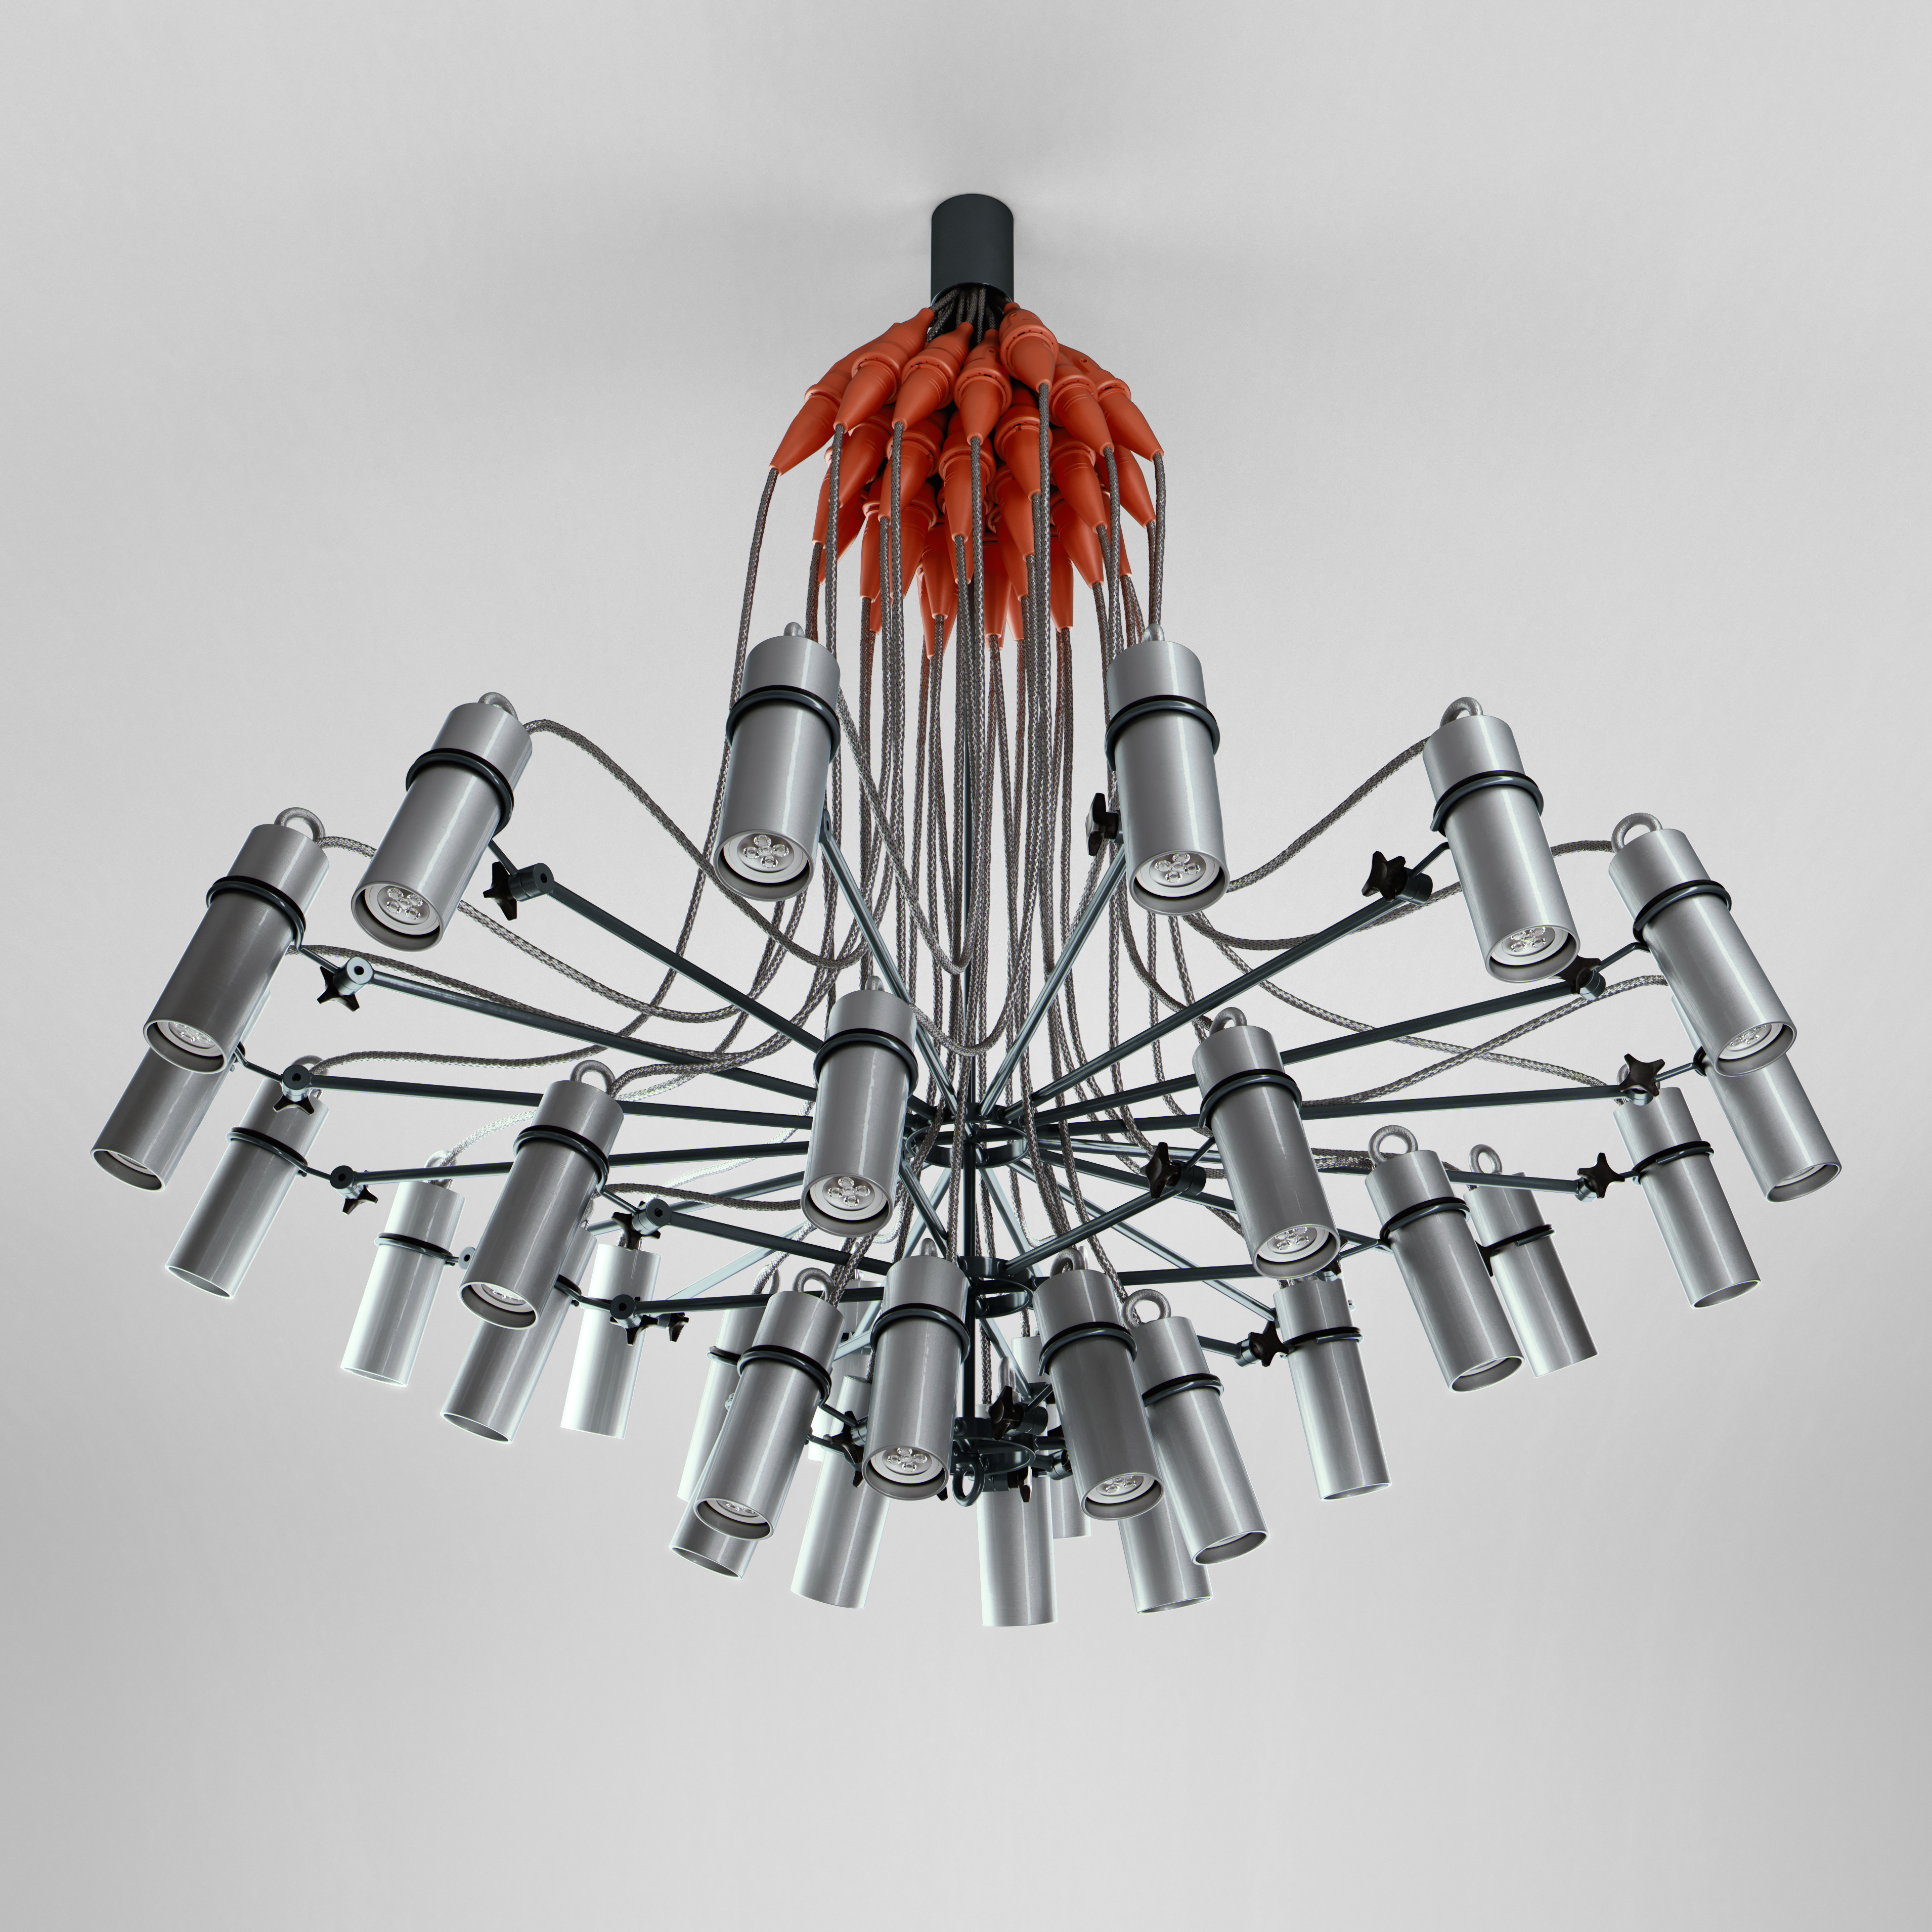
And here’s a render from that scene setup:
How did you create the simple backgrounds and capture shadows?
My client didn’t like a perfect gradient background, so I ended up using a “real” background, which made the scene setup a bit more difficult and render times longer. When some lights looked good on an object but happened to mess up the background object, I just excluded the background for that particular light under the Nonphysical properties for the light.
In some cases, I would recommend using a shadowcatcher against a gradient background. There’s a good example of that along with a free scene by Romullus here to get you started.
How did you first discover Corona Renderer?
I discovered it in mid-alpha stage when a lot of people had already posted excellent results. I tried it myself and was impressed – I liked how fast and seamlessly it worked and how little effort was needed. It was a case of “just hit render” and get very nice results!
Why did you choose Corona Renderer for this project?
The most valuable tool was definitely the Interactive Renderer. It works great and I really can’t count the hours I saved seeing changes in real-time. When creating materials and setting up lighting I have the Interactive Renderer open 90% of the time.
This project was done more than a year ago with Corona Renderer 1.3, and Corona has developed a lot since then. New features like denoising, PBR materials, Interactive LightMix, and the new VFB are all great! Zooming in Interactive Rendering is useful too, and the standalone Corona Image Editor for denoising, LightMix, and color mapping is another great addition to the toolset. I use the daily builds, often a month before the official release.
What are you working on at that moment?
I’ve been using only Corona Renderer since late 2015, so all my current projects use it. I still keep an eye on the development of other engines, but I haven’t seen anything good enough to change my preference so far.
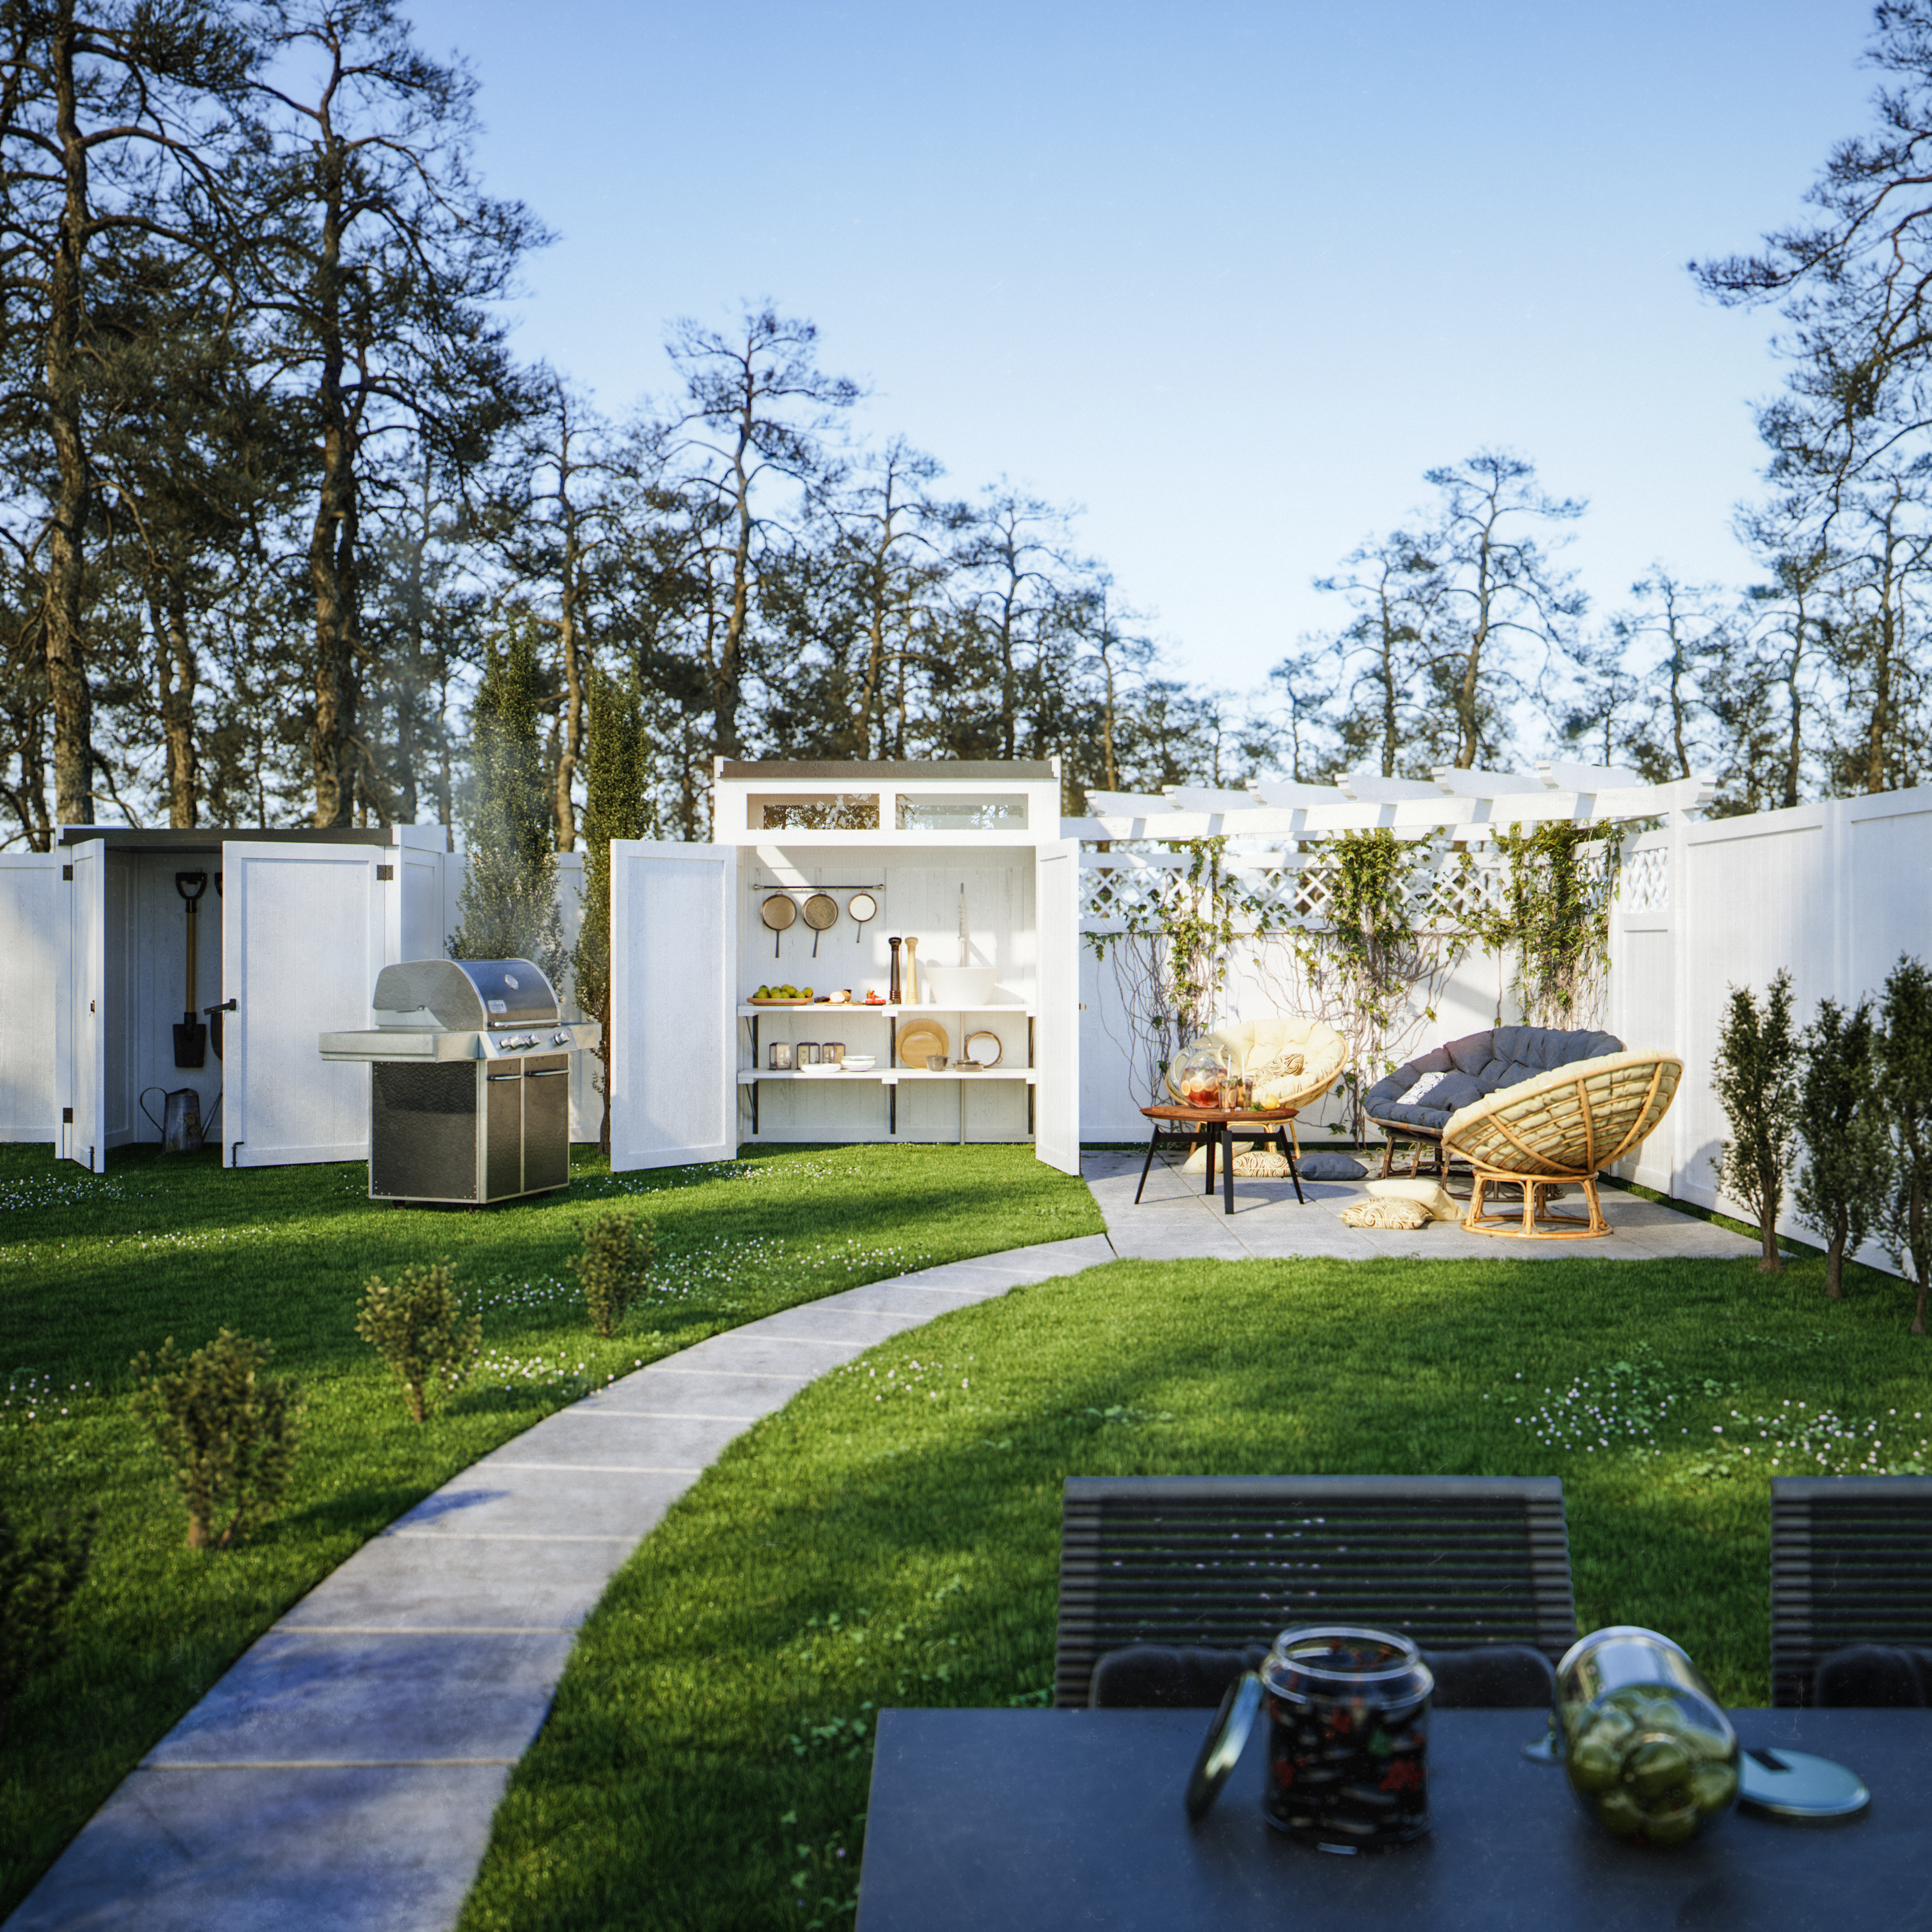
We usually have 2-3 projects on the go at the same time. One interesting project right now, which I’m allowed to share, is our work for Ulaelu custom kitchens:

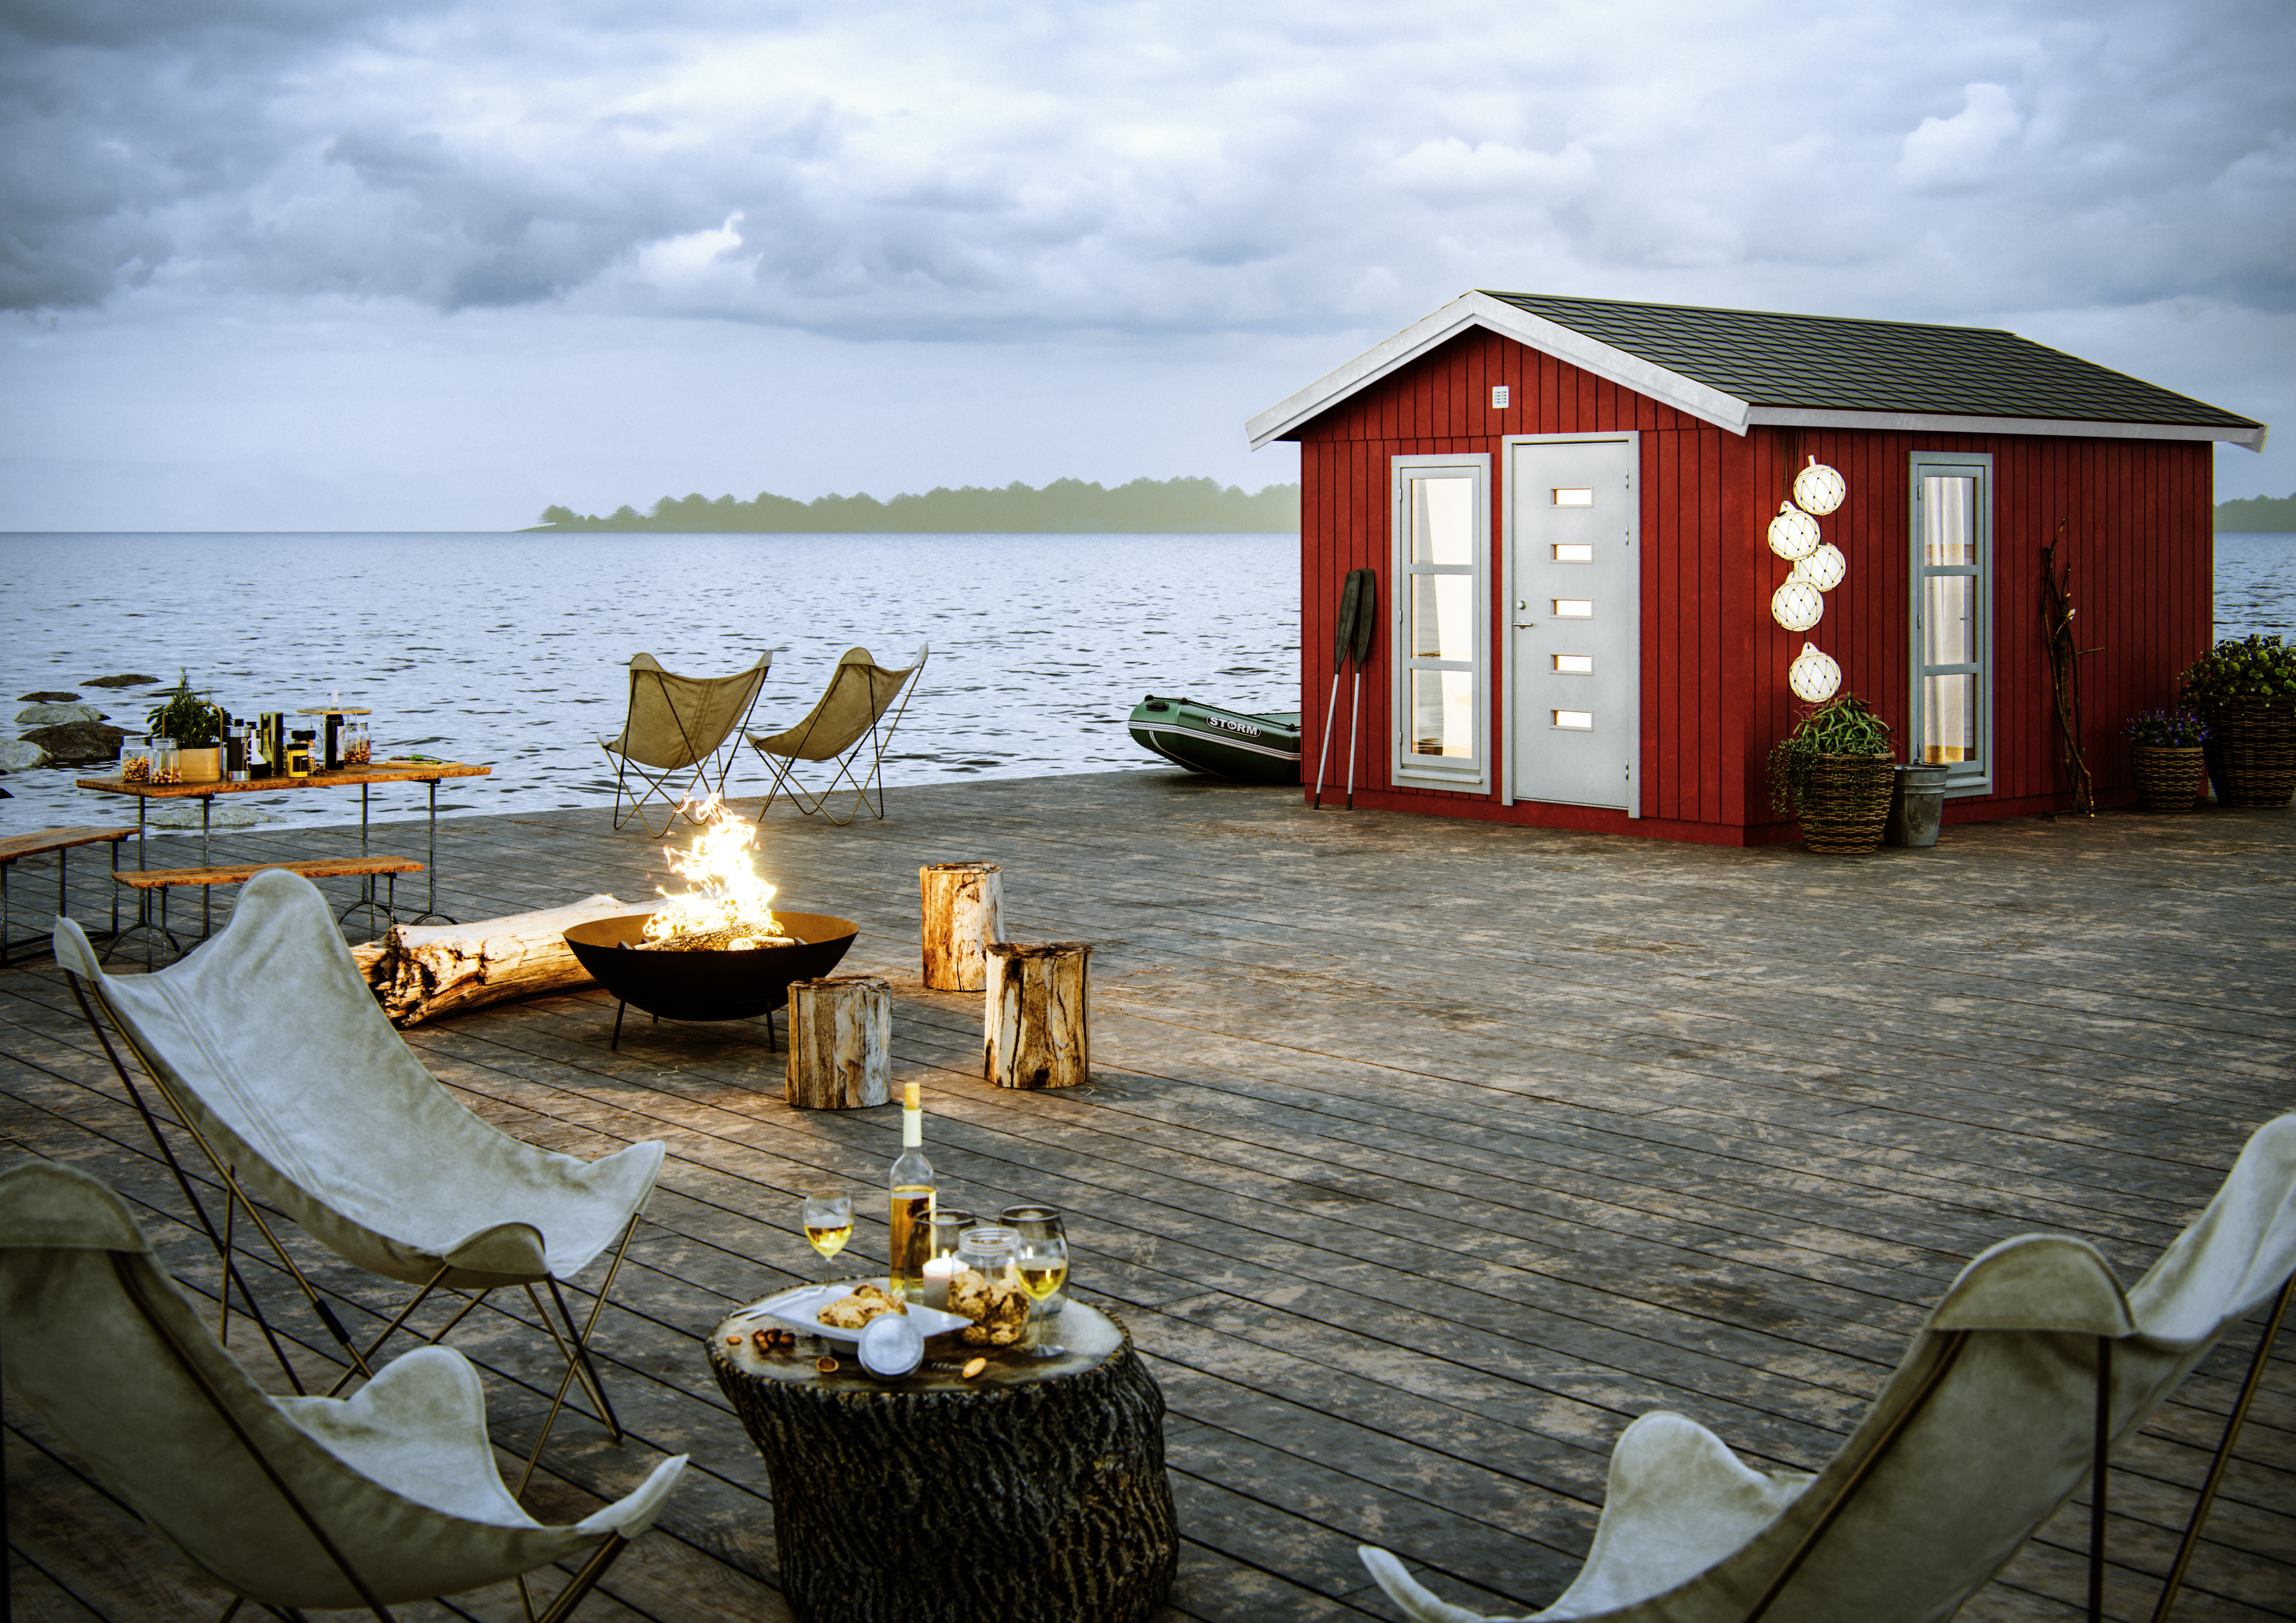
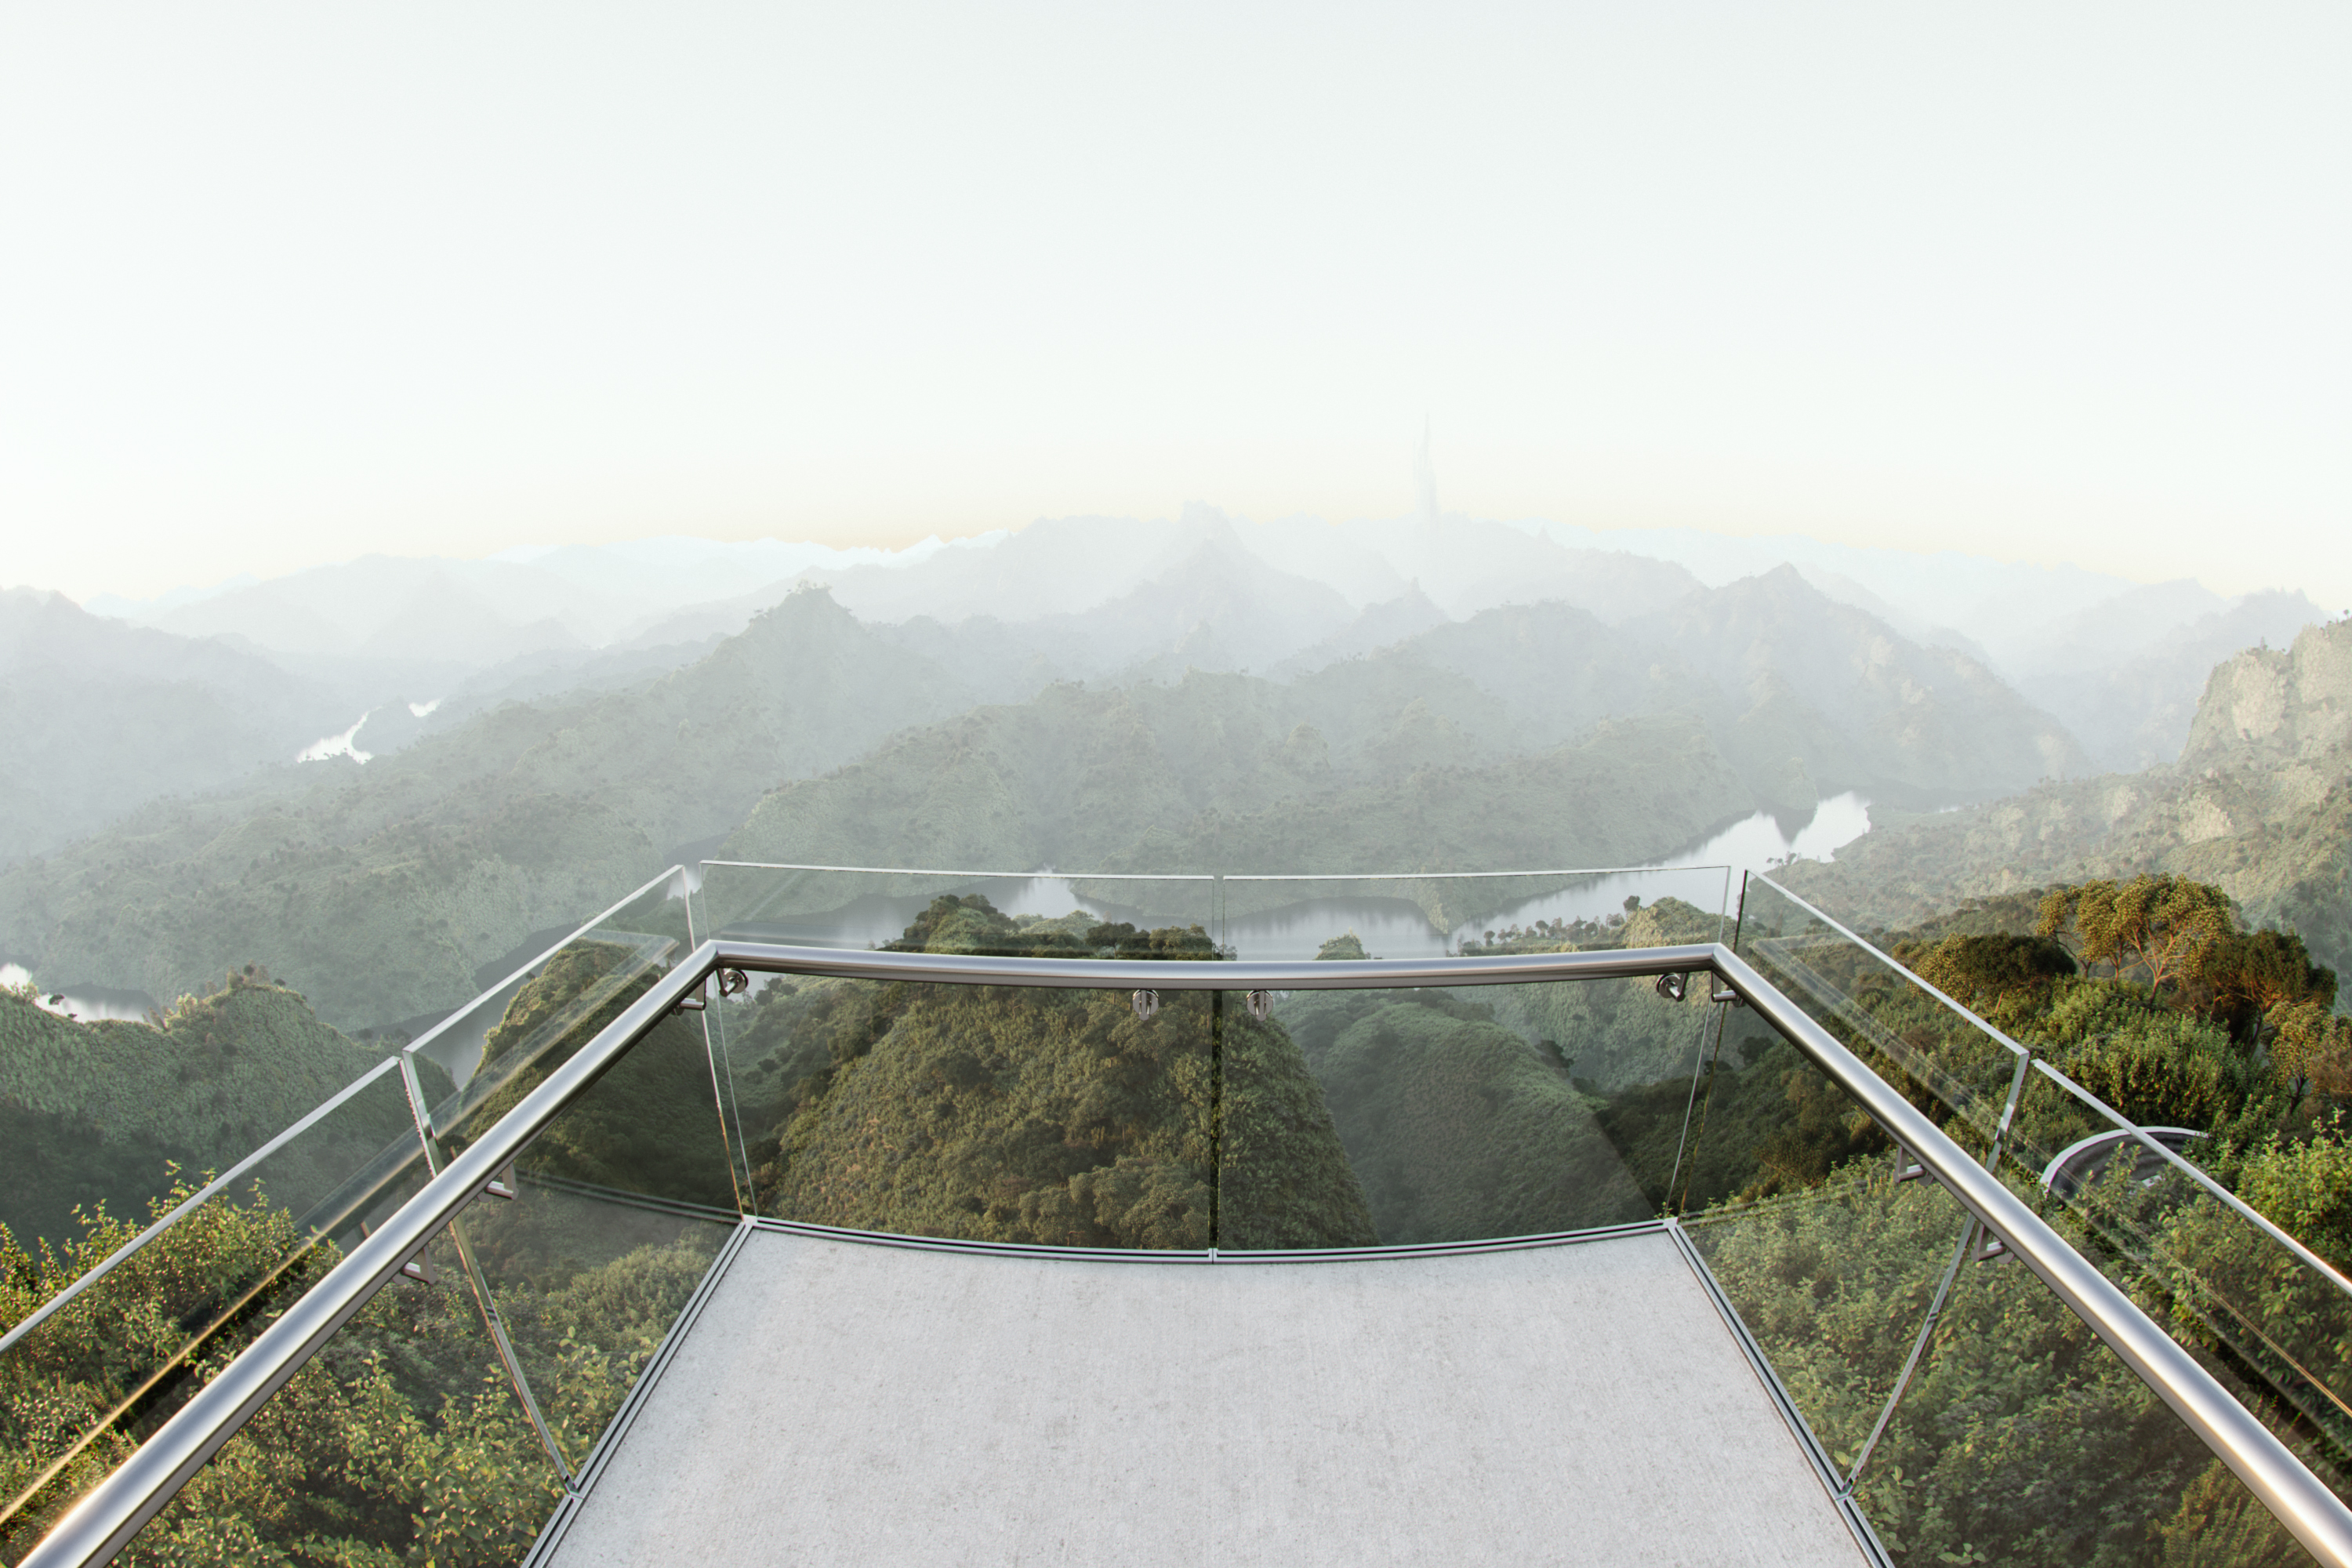
A personal project I’m working on at the moment is inspired by my recent two-month trip to southeast Asia. The building is based on the Kyriakos Tsolakis Architects design. Here is one of my test images:
Thanks!
Andres
LINKS
Website: http://www.saarnakvisuals.com/
KEHA 3 Website: http://keha3.ee/
Nice Information!!!
Great selection, thanks for sharing!
Nice architectural rendering
Wow, Great 3d architecture rending design. I really like it
Thanks for sharing this useful info with us
Most welcome!
Very interesting post. Thank you very much!