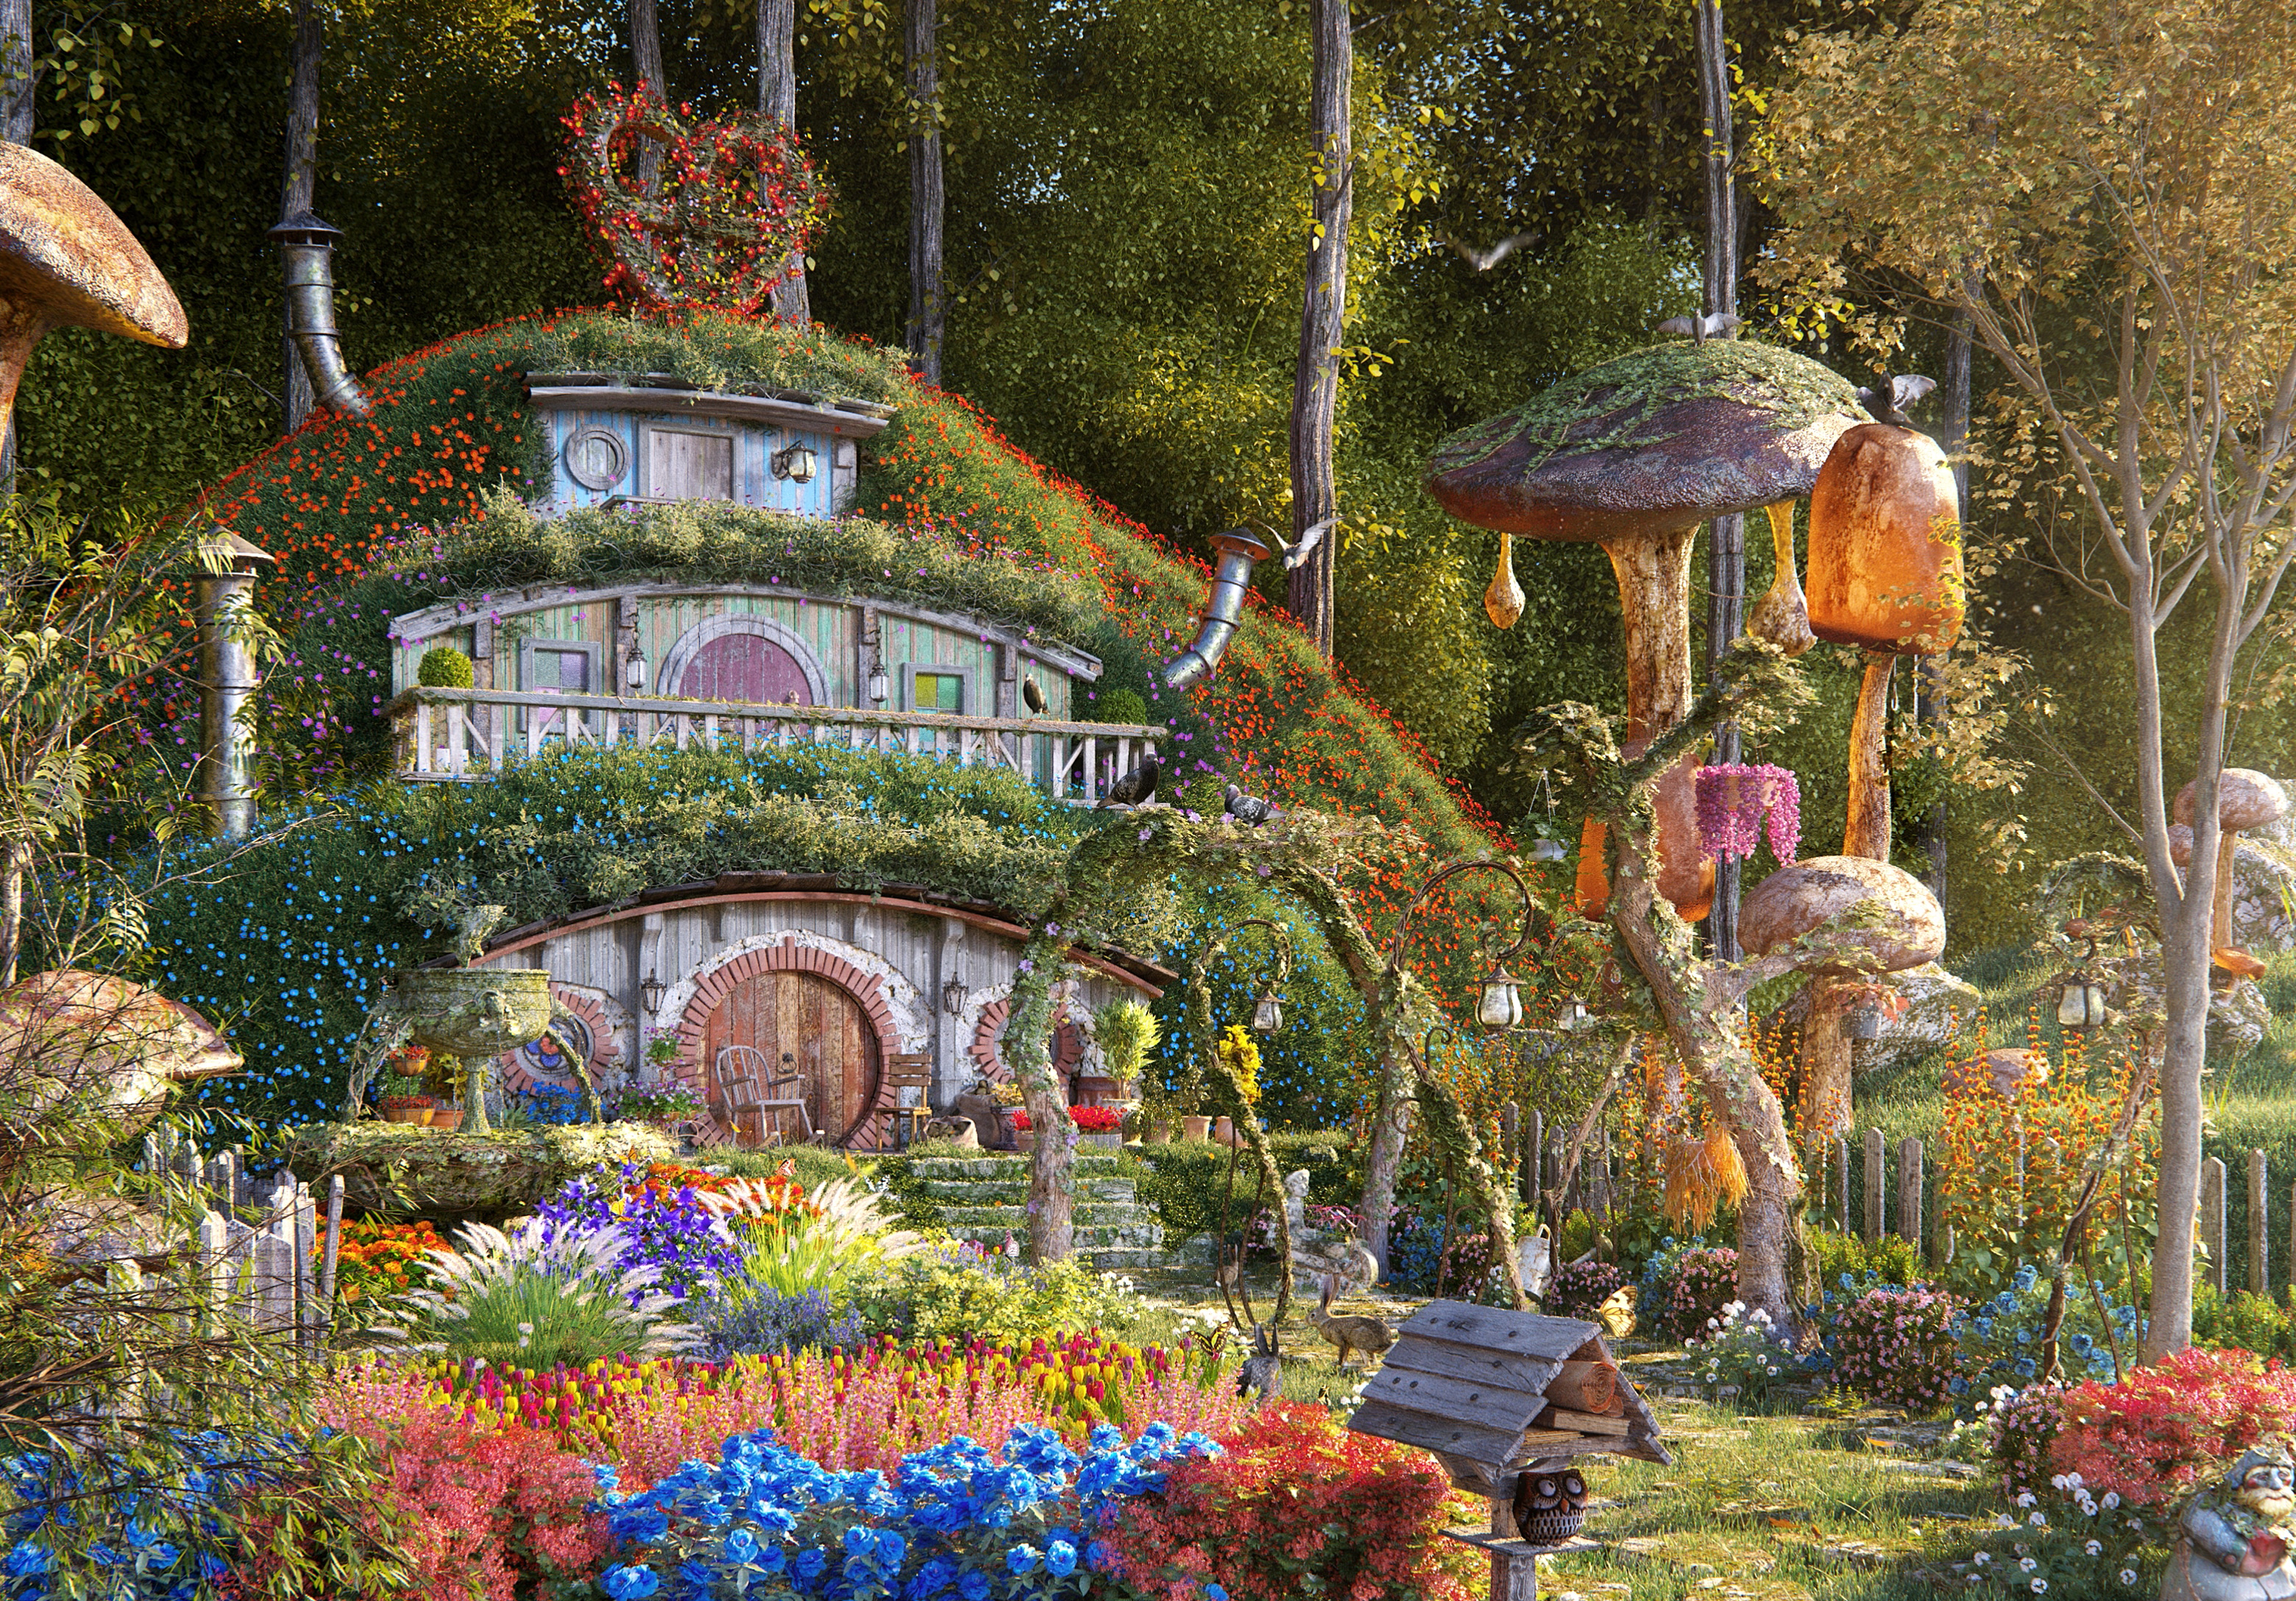
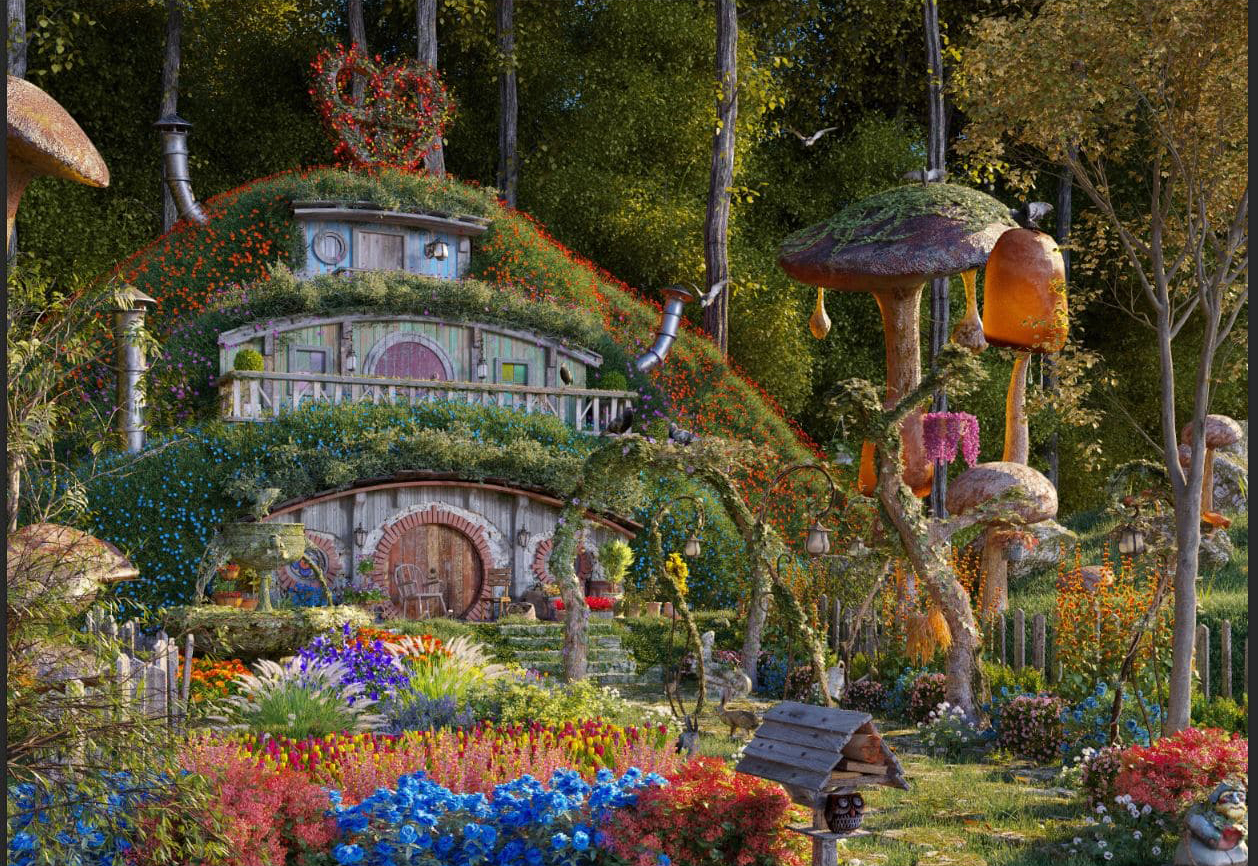
We spoke with artist Romi Valentino to find out how he created his ‘Hobbit House’, an image with a strong sense of the fantastic and whimsical, full of colour and detail, and with an almost painterly look.
Read about the making of “Hobbit house”
Hi Folks!
My name is Romi Volentino, and I am a freelance artist from Indonesia. I want to say thank you to the Corona team for letting me share this ‘making of’ with you, and I hope you find it interesting and that it gives you some new ideas for your own images!
Inspiration
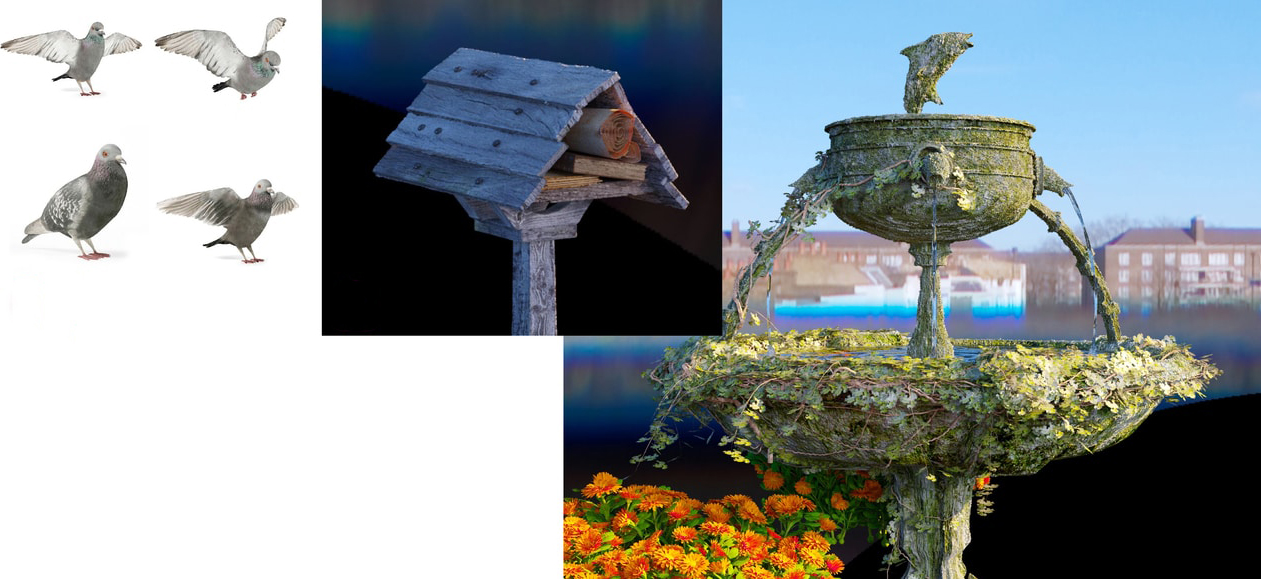
With the theme being set as “The Secret Garden”, I searched out some inspiration on the web. Here are some of the images that inspired me and shaped the direction I took:

My first idea was to make it a big scene, which I sketched out in rough form, as well as collecting a few more ideas for inspiration:


As I experimented with this idea, I realized that a scene of this size and complexity was going to be too much for the 32 Gb of RAM on my ASUS ROG laptop (yes, the whole scene was created and rendered on a single laptop!)
Sometimes, though, limitations turn out to be just another source of inspiration, and I decided to add the 3-level hobbit house as the main focus in the scene. Using this as the focus would let me reduce the RAM I needed, and I could still keep the density of the colour and flowers around it from my inspirational images.

With the object created, I used the rule of thirds to pick what I thought was a good angle to view the house from, and this would act as my template to build the scene around:

Modeling
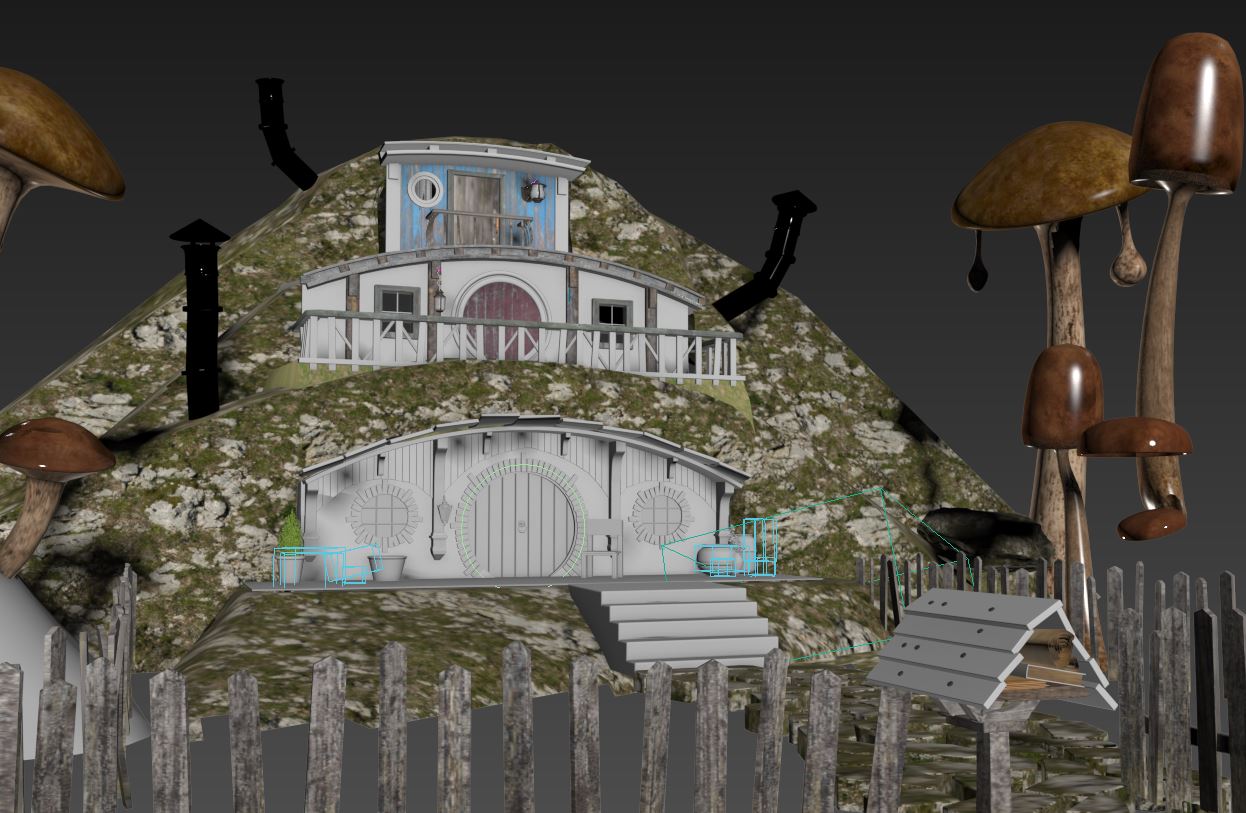
Once I had the idea for the scene fixed and a viewpoint selected, I did some manual modeling, and converted some objects to Corona Proxies. I use 3ds Max 2014, and there was nothing special in the approach I took to modeling.
Below you can see the various elements I used to construct the scene:


And of course trees and grass were vital!

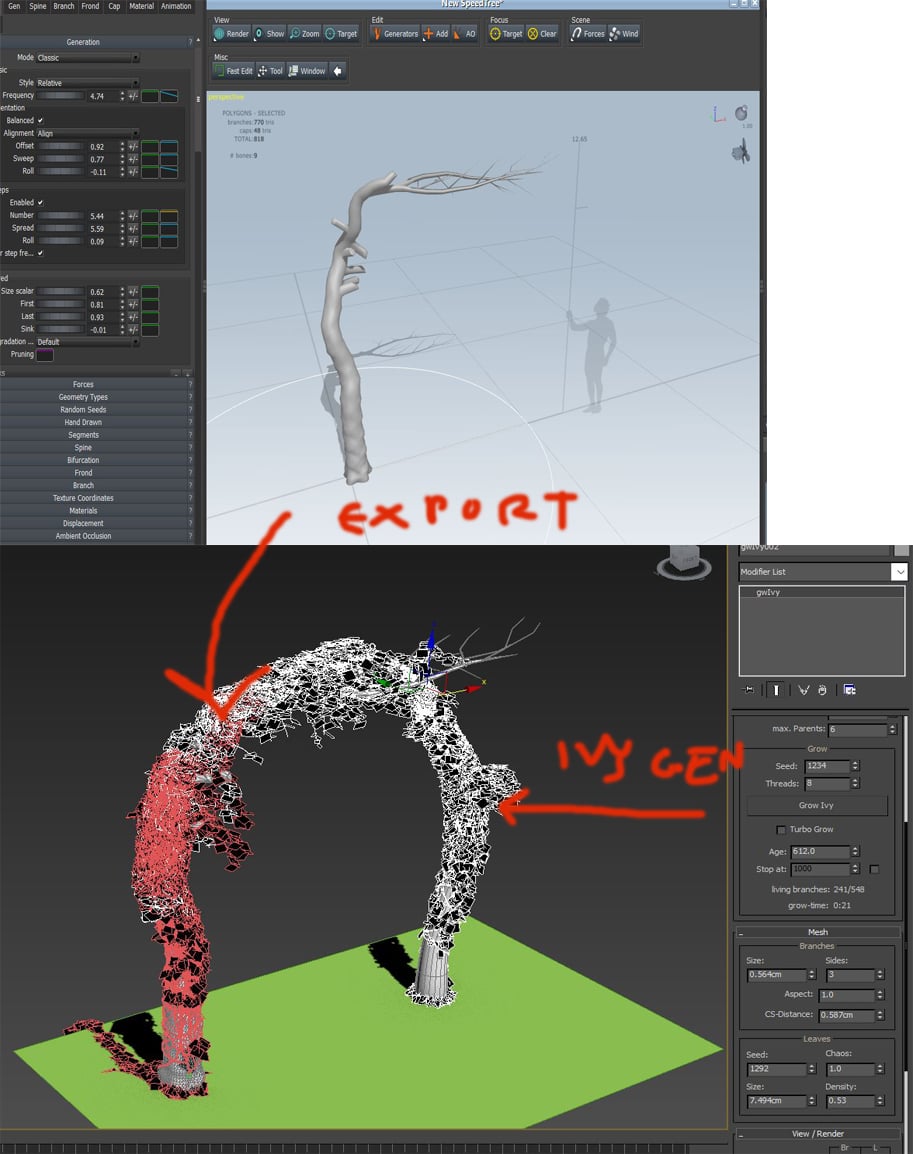
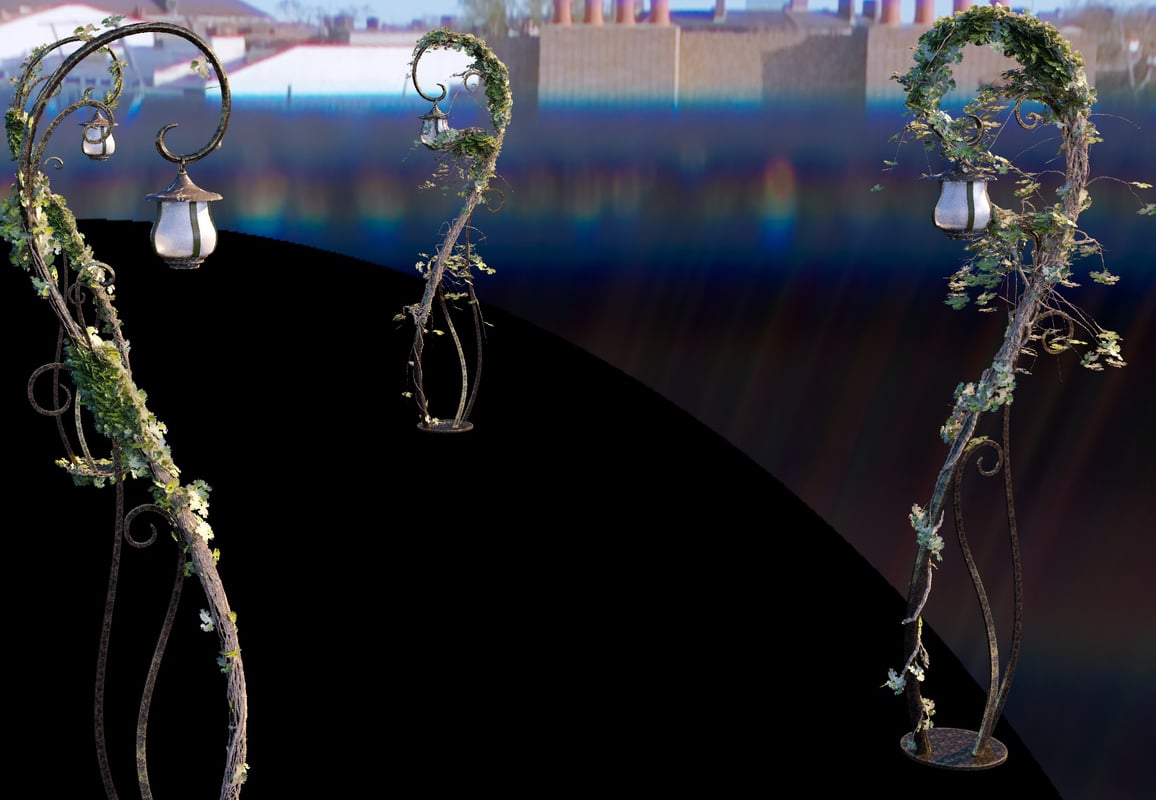
For the arched tree across the path, I used Speedtree, exported that to 3ds Max, and there used Ivy Generator to complete the look:
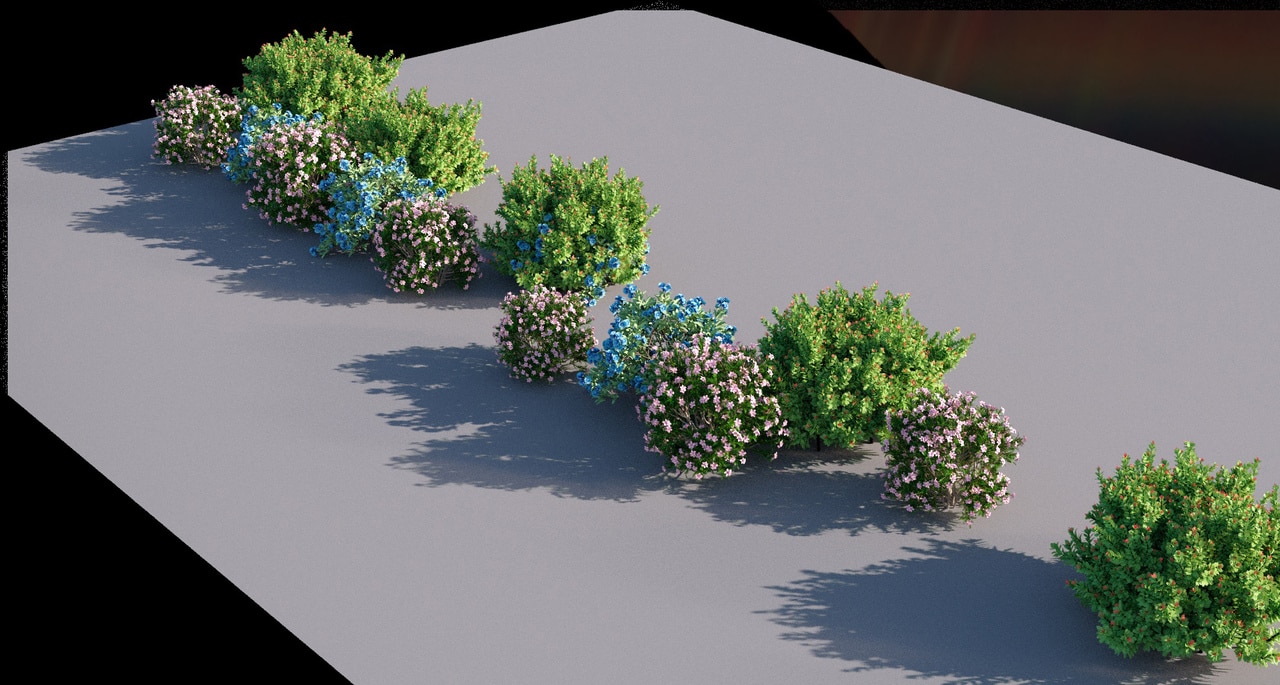
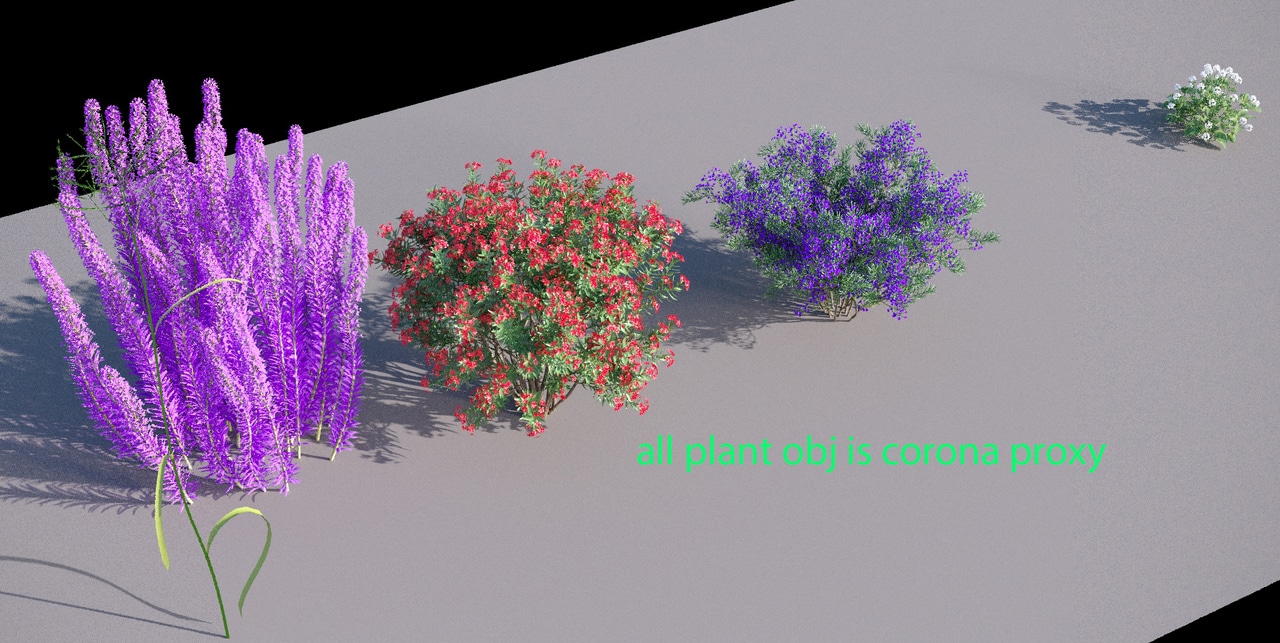
The it was time to collect a few more models for the scene, starting with plants:
A few ornamental pieces:
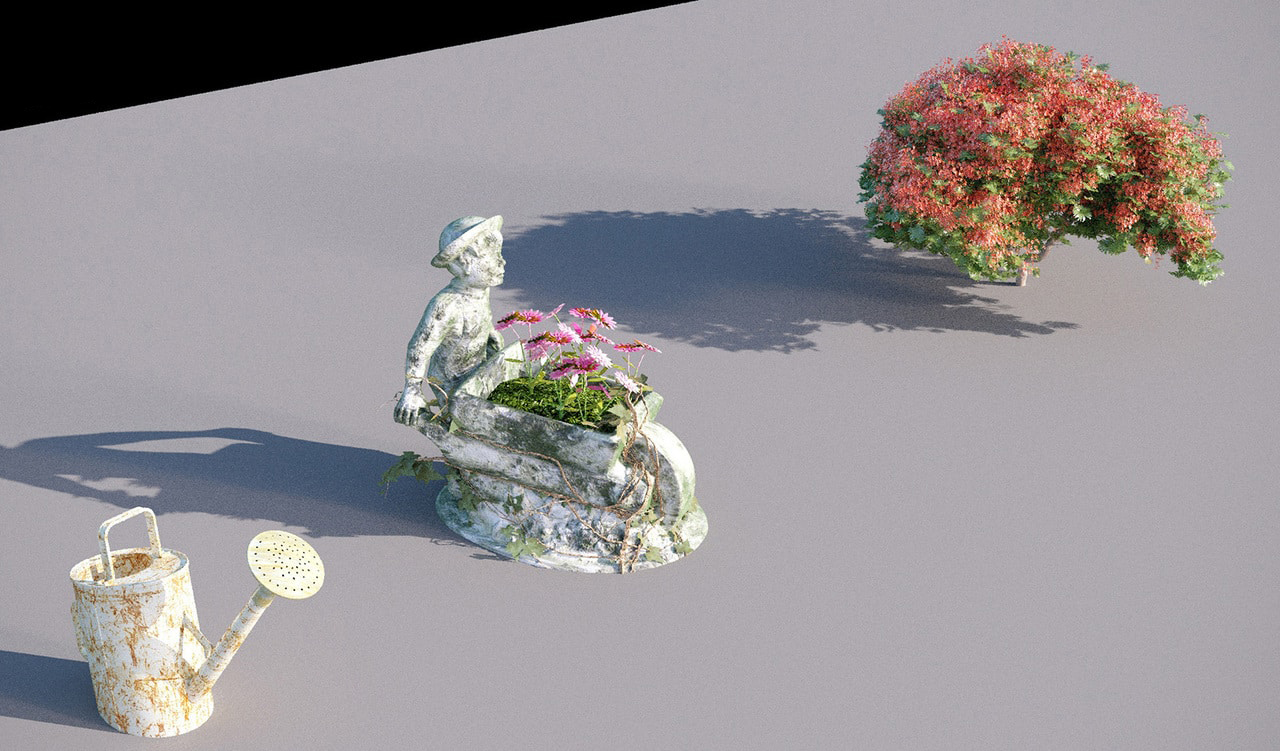
A fountain, and some animals to ensure the scene had some life:
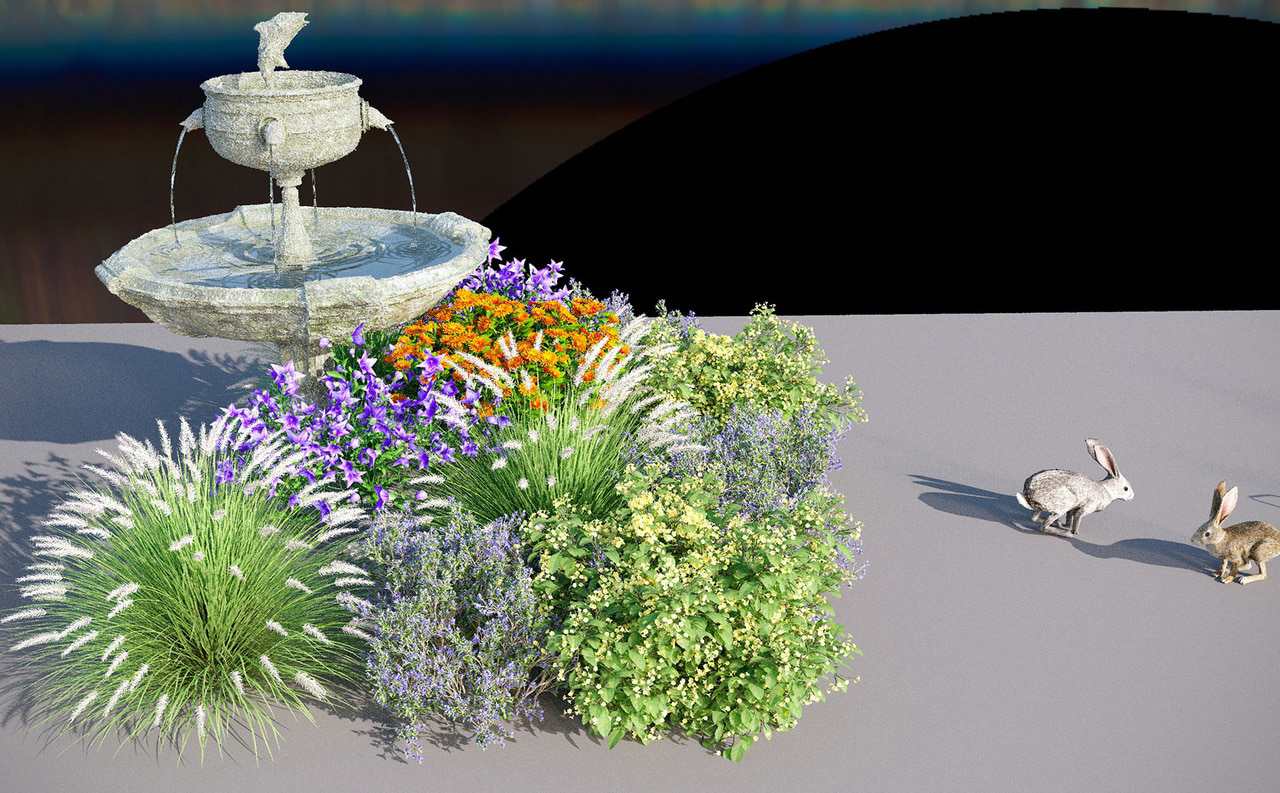
And even more plants, as I really wanted to follow the inspiration images and feature an explosion of color and variety:
Texturing
This is the important part, I felt! Corona Renderer works very well with translucent materials, ideal for creating grasses, trees, etc. These materials not only look good, but render quickly too. I was able to easily create materials and by only changing the colour of the translucency, I was done. I didn’t aim for 100% realism in the materials, just to get enough detail for me.
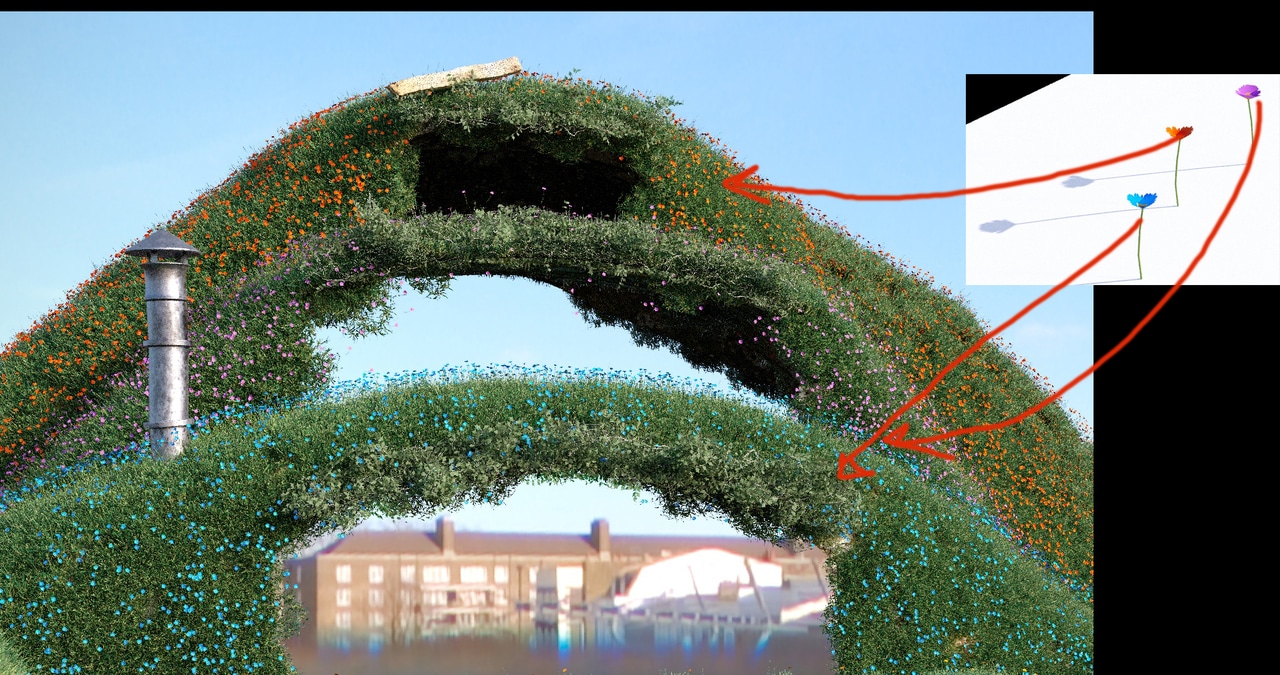
At this stage, I also used the Corona Multimap to create variation in the colour of the leaves and grass. Corona has good interactive rendering, which meant that I was able to see results directly when I was texturing, and could tweak the materials under the final HDRI lighting that I had in mind for the scene, so there was no guesswork involved.
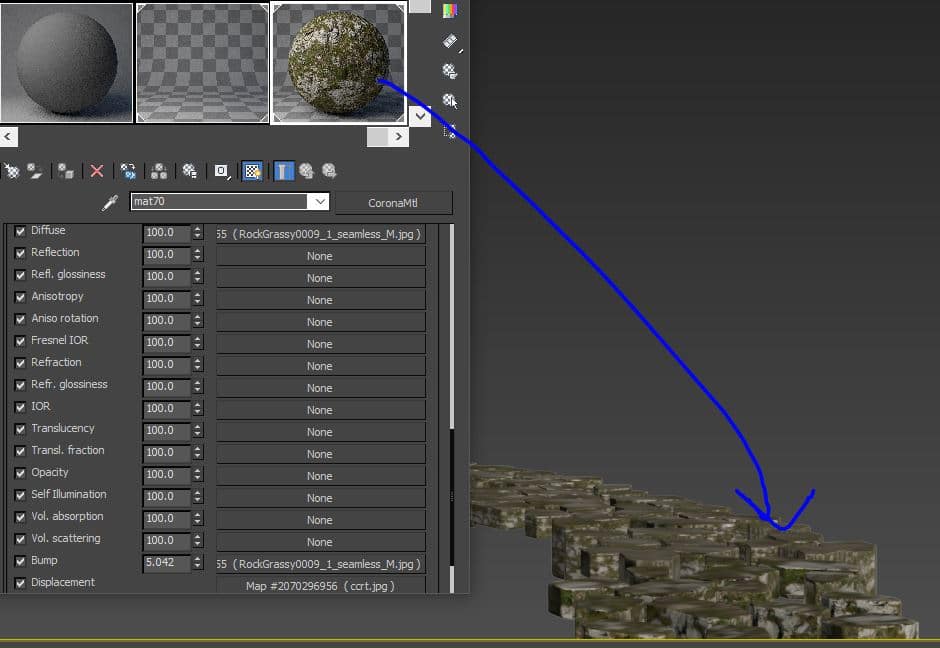
I used the textures to achieve the level of detail and richness that I wanted, so each plank texture is different, each item had a difefrent bump intensity, and so on. You can see an example of that with the hobbit house itself below:

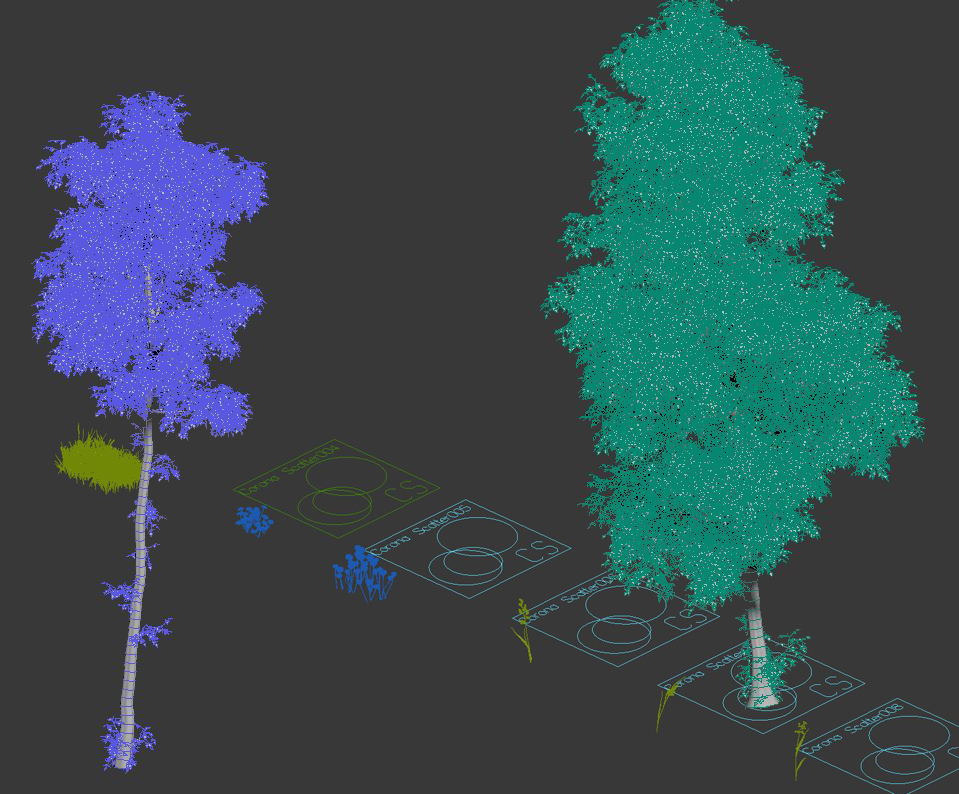
For placing the grass, flowers, etc. I used Corona Scatter throughout the scene:
The same principle of variety in the textures applied to the other elements in the scene too:
And now it was all taking shape nicely!
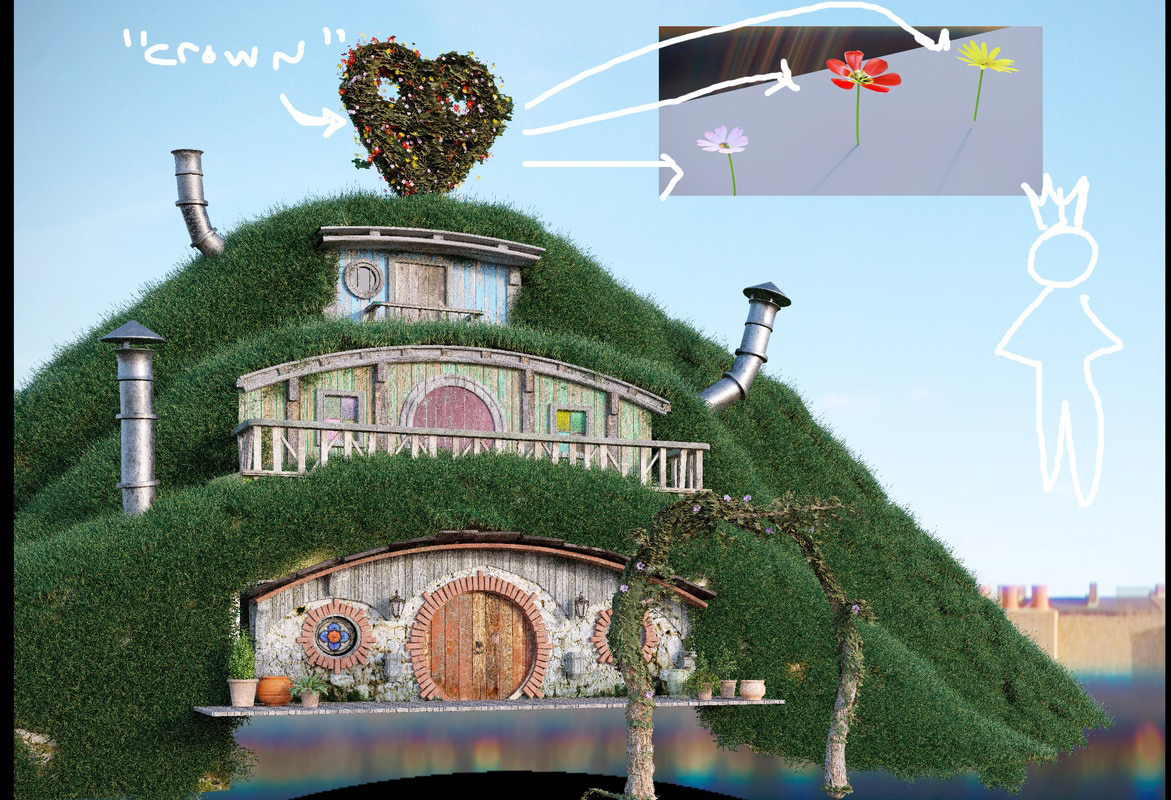
With this being a hobbit house, it too needed a dense covering of greenery and flowers, all done using Corona Scatter:
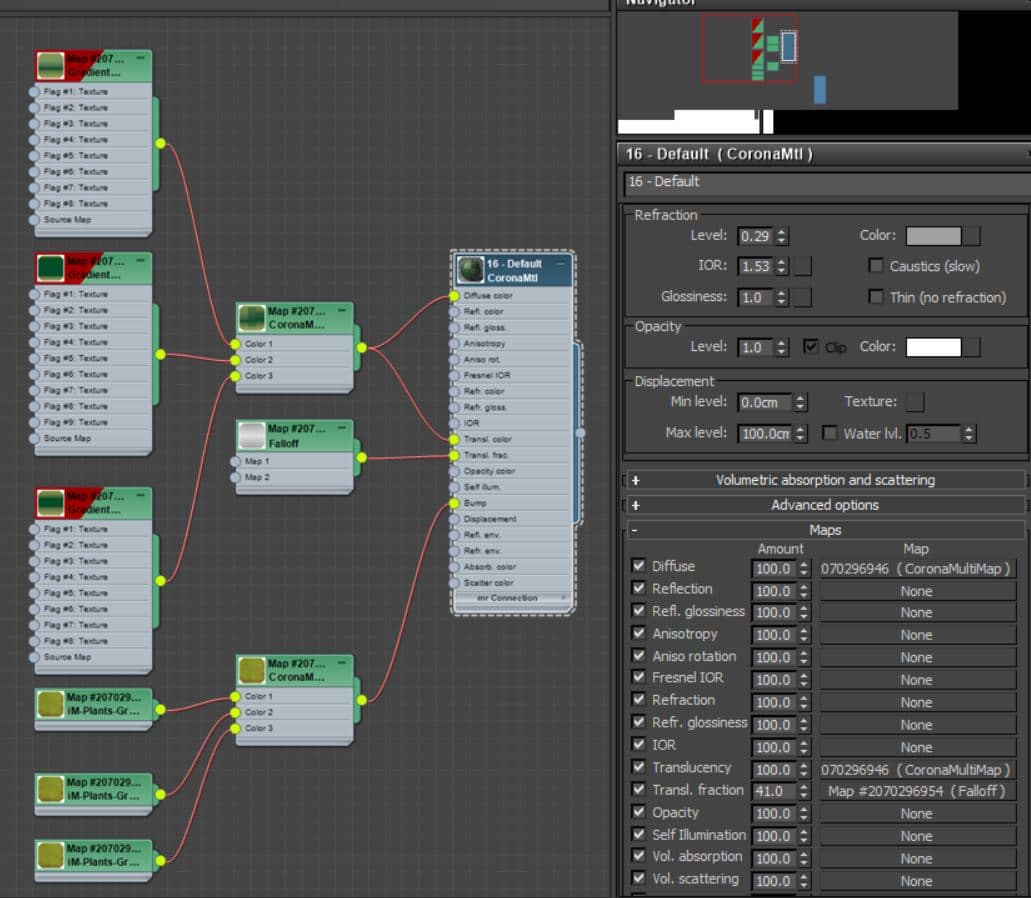
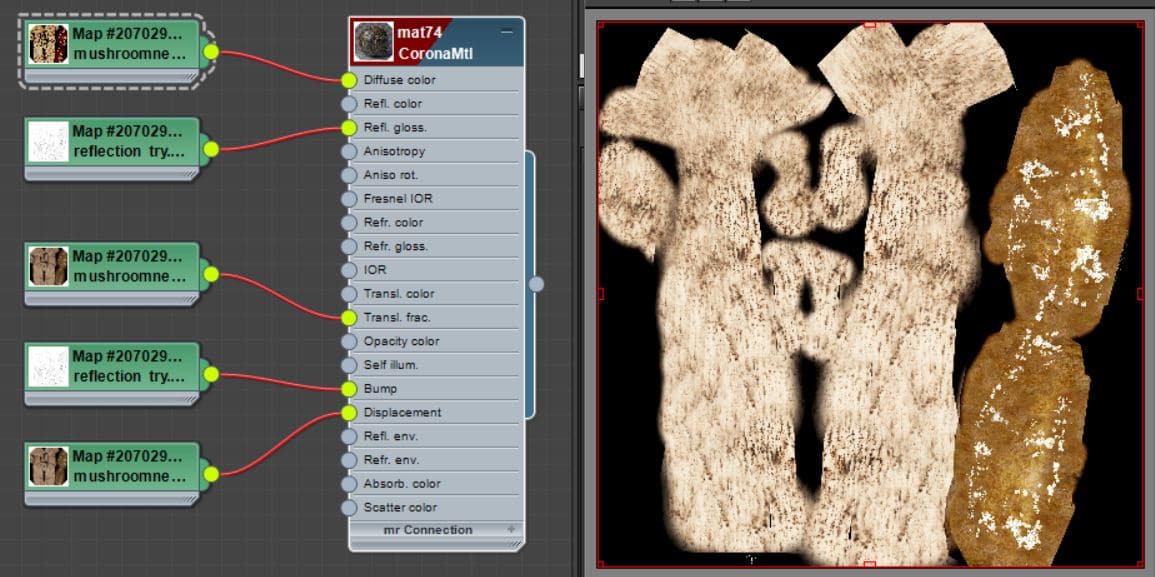
Here’s an example of how I constructed the materials to give random variation:
And here is how the objects looked as I worked on their materials, using the HDRI I had chosen for the lighthing:
For some of the objects I unwrapped the model manually and painted the textures by hand, such as for the mushrooms:
Corona also works well even with heavy displacement, and I enjoyed seeing the results I could achieve using Corona displacement in my scene!
Lighting and Rendering
There was no special trick with the lighting, I just added a Corona Sun along with my HDRI environment, and left the Sun at the default settings with no need to tweak anything – I just clicked “render” 🙂
I took full advantage of translucency in Corona, so that the Corona Sun really brought the trees, grass and plants to life!

I did choose to render out a few separate Render Elements, seen below:

Post-Production
At this point, in the past I would normally use Photoshop and a plug-in like ArionFX, but I had no need to do that this time. The raw render from Corona already made me happy and didn’t need any adjustment:
What I did do in post was add a few more details, like these butterflies:

And I added some glowing fog or mist to complete the look for the image:

With those two small post-production changes, my image was complete!
Conclusions
- Corona is so smooth and does not consume my RAM – that made me very happy since I am using a laptop and am limited to only 32 gigs! I can still render with a lot of detail and translucency.
- Corona’s Interactive Renderer allowed me to see how my render would look and adjust materials easily, especially with the preview in the Material Editor too – that is brilliant!
- Corona’s displacement was safe to use even on my laptop, and gave great results without consuming a lot of RAM.
- The final render is stunning, right from the Corona VFB. I had no need to adjust gamma etc. I could just save it from the VFB and I was virtually done.
I hope you all like the final image, and find something in this article that will inspire you in your own artwork!
Regards,
Romi
Website: http://romi3d.wixsite.com/3dart
Artstation: https://www.artstation.com/artist/romi_valentino
Facebook: https://www.facebook.com/Romi3dart
Thanks for posting the articles they very nice and very help us. You made a good site, it’s very interesting one. I am very impressed by your site and your posts they amazing and very useful to us. I got such a good and important information it’s very nice
Hi, thanks for the positive feedback! Remember that in case of any troubles or questions you are welcome to contact us at support@corona-renderer.com